
Google Photos tips and tricks to tame your photo collection
Related Posts
Google Photos is the most convenient photo management app for Android users. Photos are automatically synced between all supported devices, so you can take a photo on your phone and it appears on your Google Assistant-compatible smart home device in minutes. The app contains many helpful features, but these can be easily missed.
We rounded up these helpful tips and tricks so that you can use Google Photos to its fullest potential. But if you’re frustrated with what Google Photos offers, try these alternative photo management apps.
How to download your images stored on Google Photos
The tips in this guide work on Google Photos for Android and iOS. Although we’ve used the Android app for this tutorial, iPhone users can follow the same steps.
Having a cloud archive for all your photos is pretty cool, but it’s not worth much if you can’t download the photos you’re holding on to. Here’s how to download your pics:
-
Select the
⋮ icon
from the upper-right corner. -
Tap
Download
.


If the photo is on your device, the download option doesn’t appear.
Back up your photos automatically on any device
It’s a key feature of Google Photos, but if you’re new to the app, you may not have automatic backups turned on. We recommend you do this to keep your photos safe and to enable integrations like your smart displays.
However, there’s a catch. Google Photos no longer offers free unlimited storage. Unless you subscribed to Google One, you’ll have only 15GB of storage to play with. We show you how to compress your photos without losing quality later, but keep this in mind when backing up your photos.
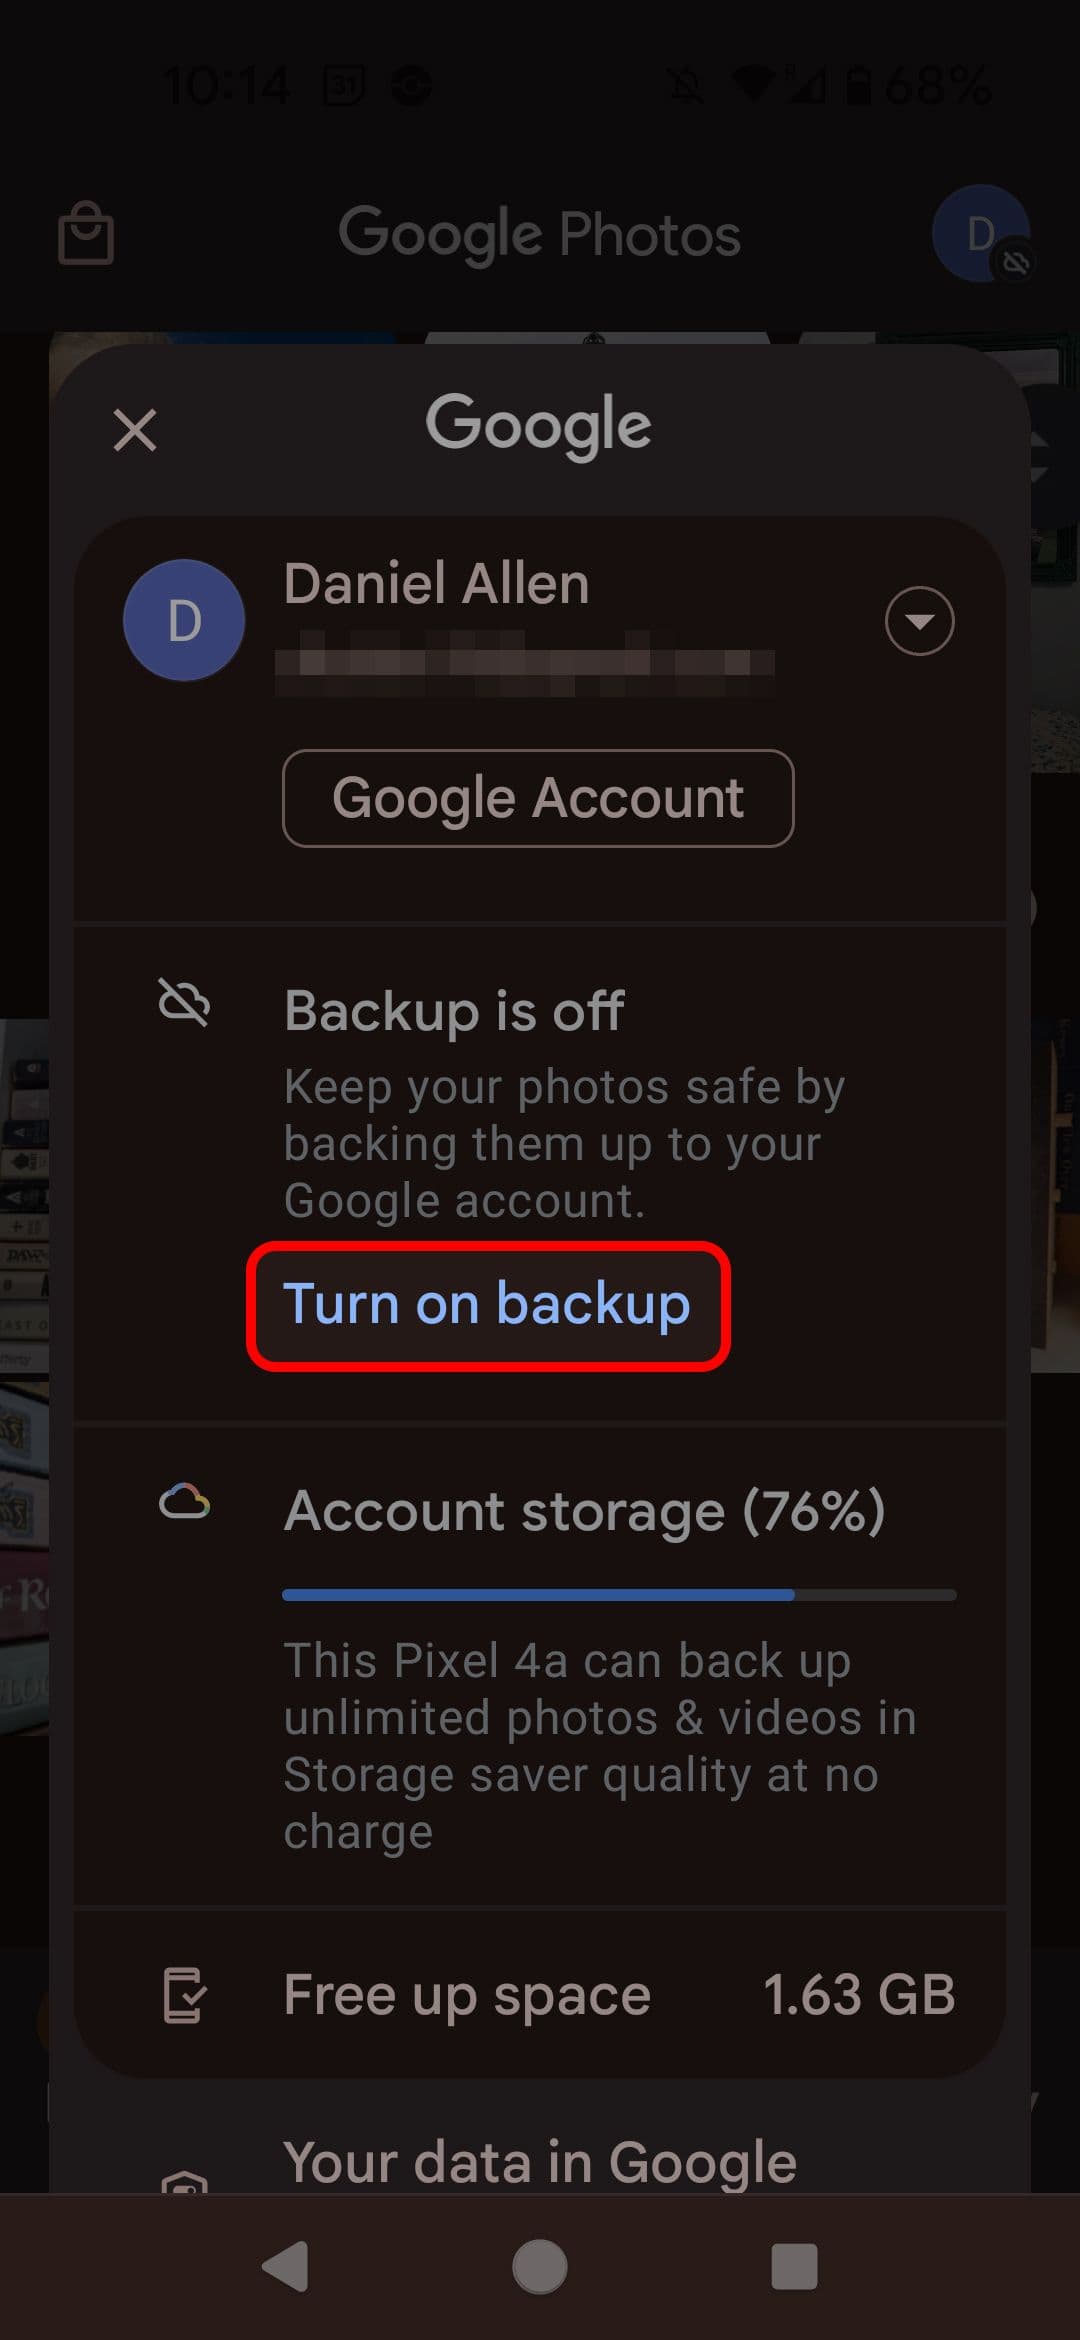
How to enable automatic backups in Google Photos
-
Tap your
profile picture
in the upper-right corner of your screen. -
Tap
Turn on backup
.
-
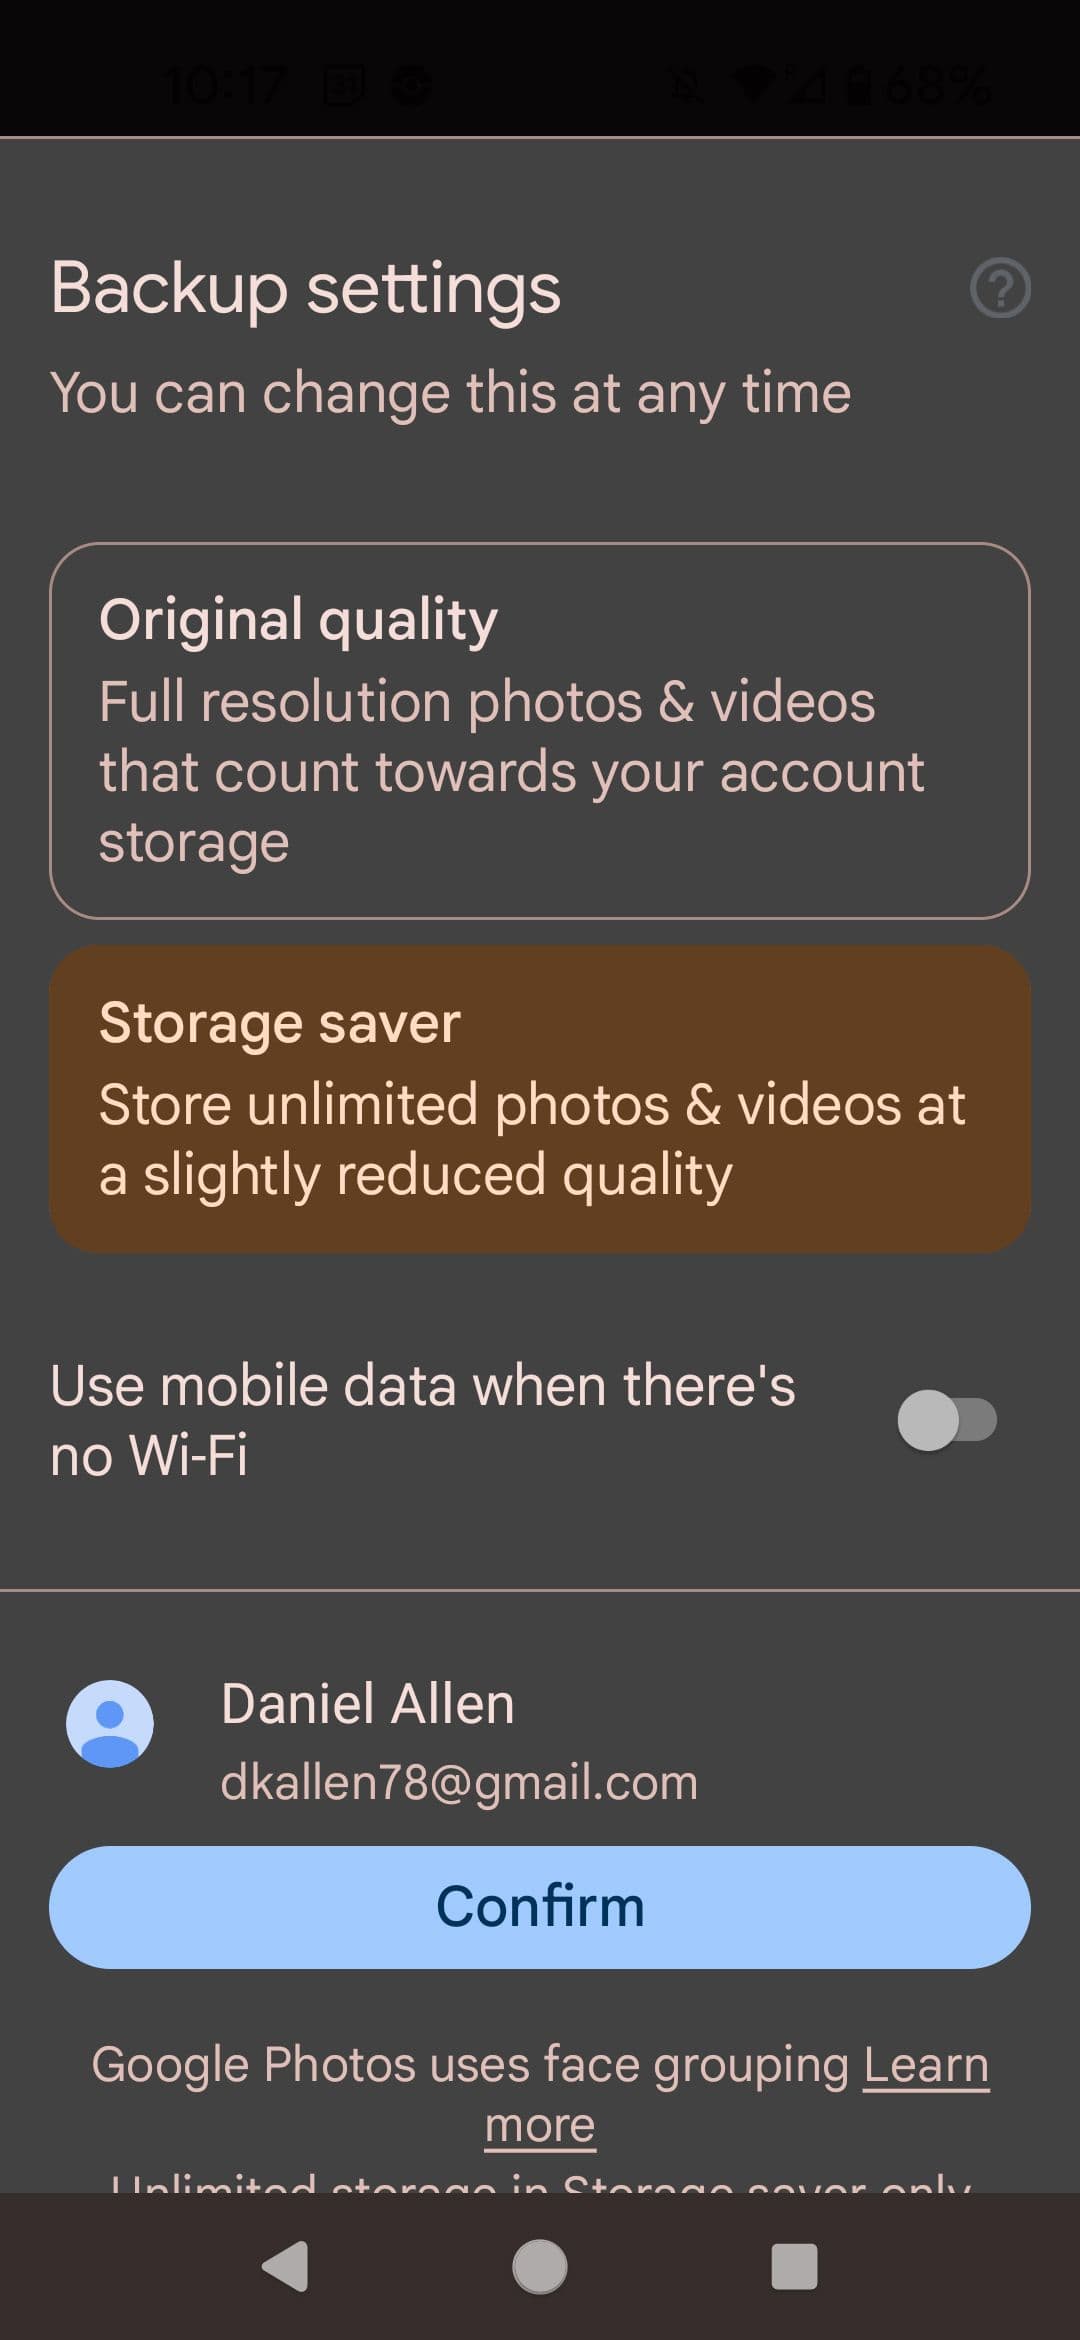
Choose your backup settings. You can save your photos at their original quality (which counts toward your account storage) or save them at a slightly reduced quality (which allows you to store unlimited photos and videos). Tap
Confirm
when you’re ready.
Depending on the number of photos you have, this process can take a while. You can tweak the settings at the bottom of the Backup menu to manage photo quality, backing up over data, and the internal folders to back up.
How to disable automatic backups in Google Photos
If you want to turn off the backup, the process is slightly different but just as easy.
-
Open the main menu by tapping the
profile icon
in the upper-right corner. -
Select
Photos settings
. -
Tap
Backup
at the top of the screen.


-
Flip the toggle next to
Backup
to off.

How to delete images from Google Photos
Google Photos is a great option for backing up your gallery in case your phone is lost, damaged, or stolen, but not every photo belongs in your online archive. You want to save images of family, friends, and events. You don’t want to save the random photos you take when the phone is in your pocket.
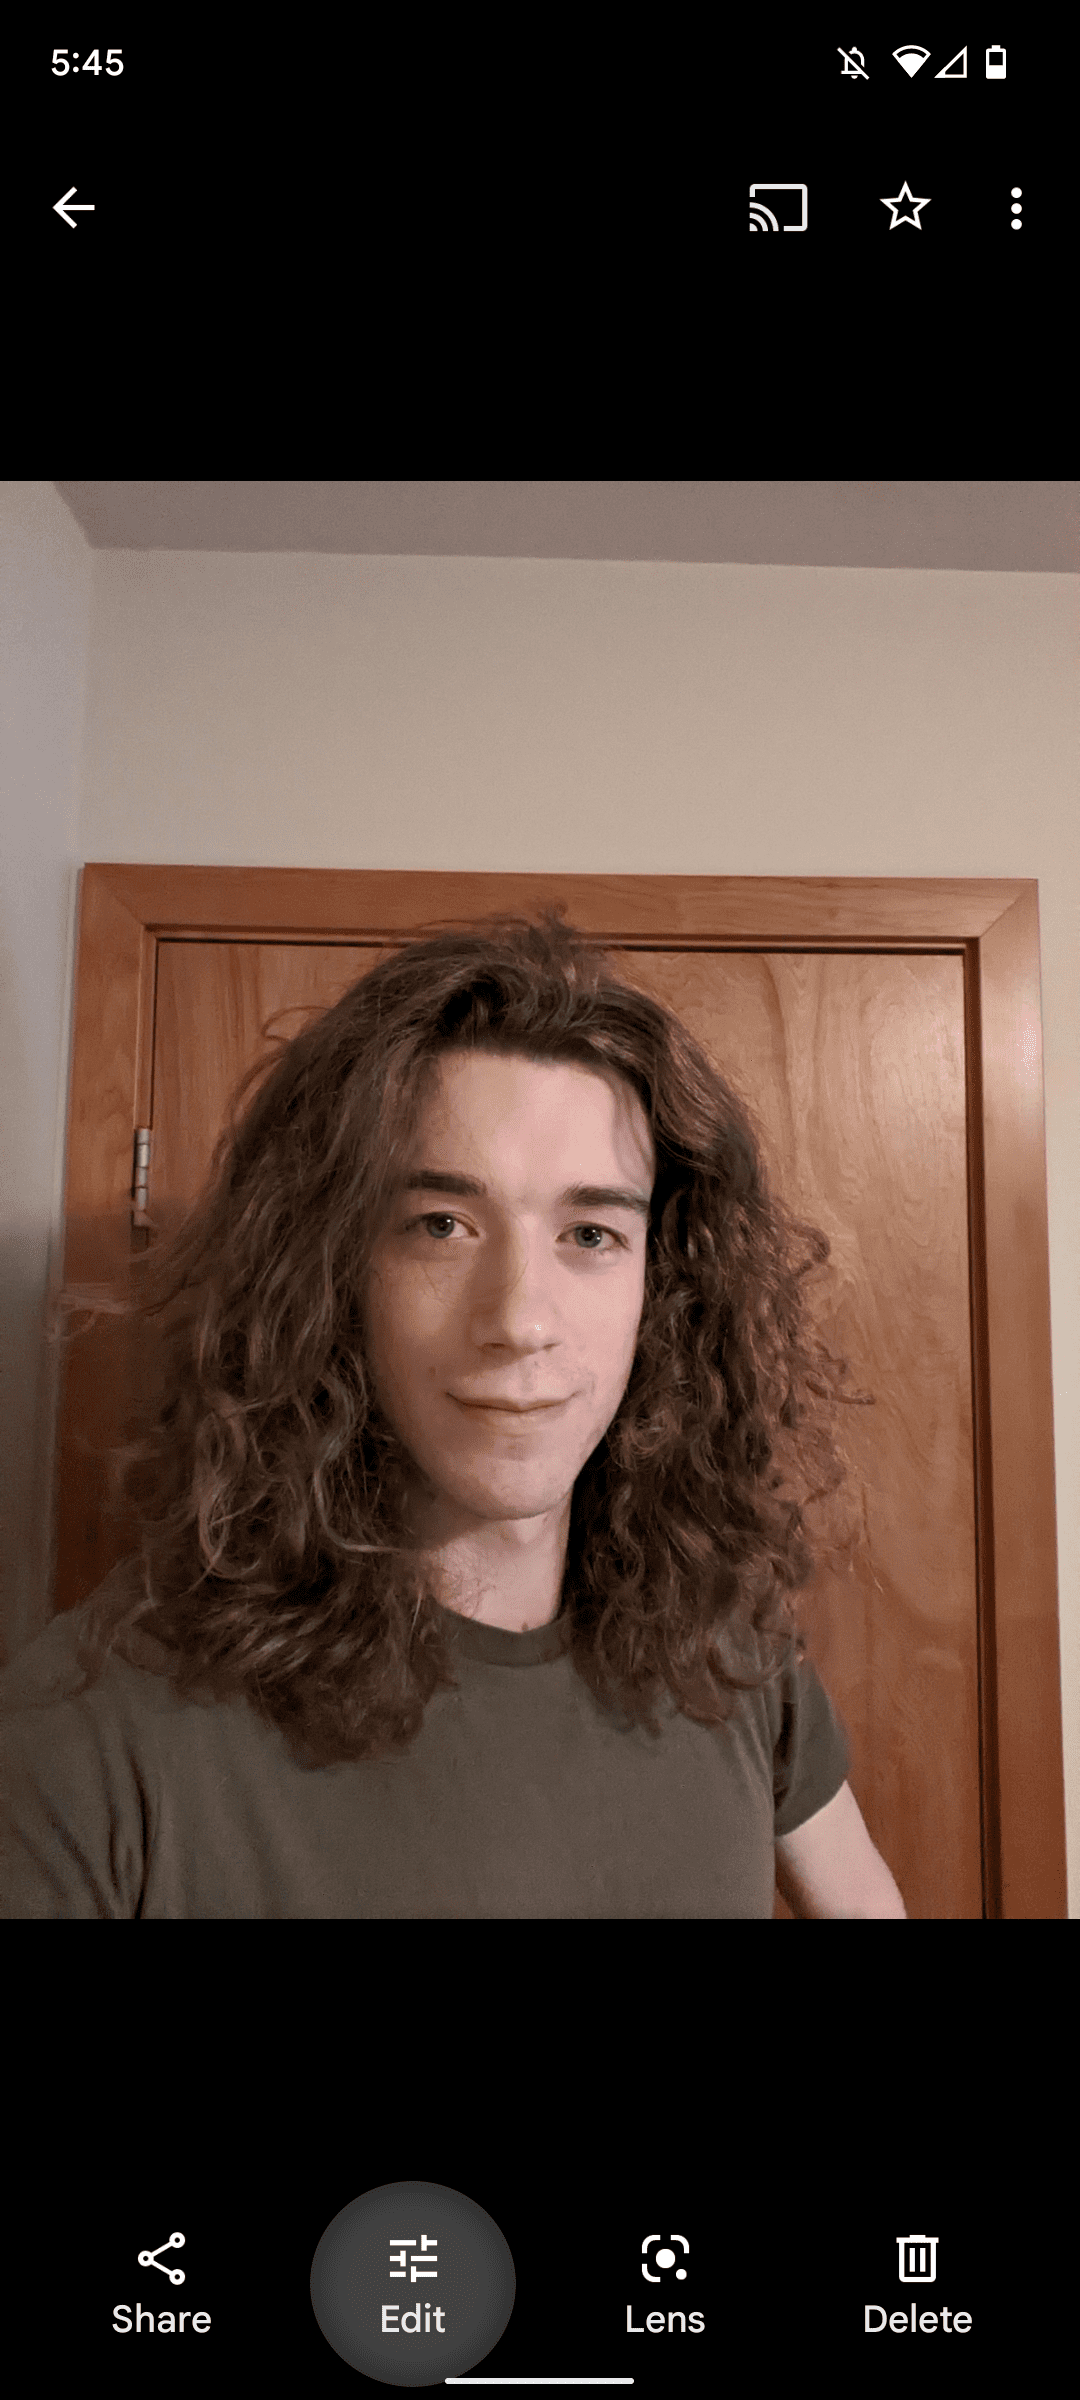
- Select the photo you wish to delete from Google Photos.
-
Tap
Delete
in the lower-right corner. -
When Google Photos asks you to confirm if you want to remove the photo from your account and any devices with backup turned on, tap
Move to trash
.

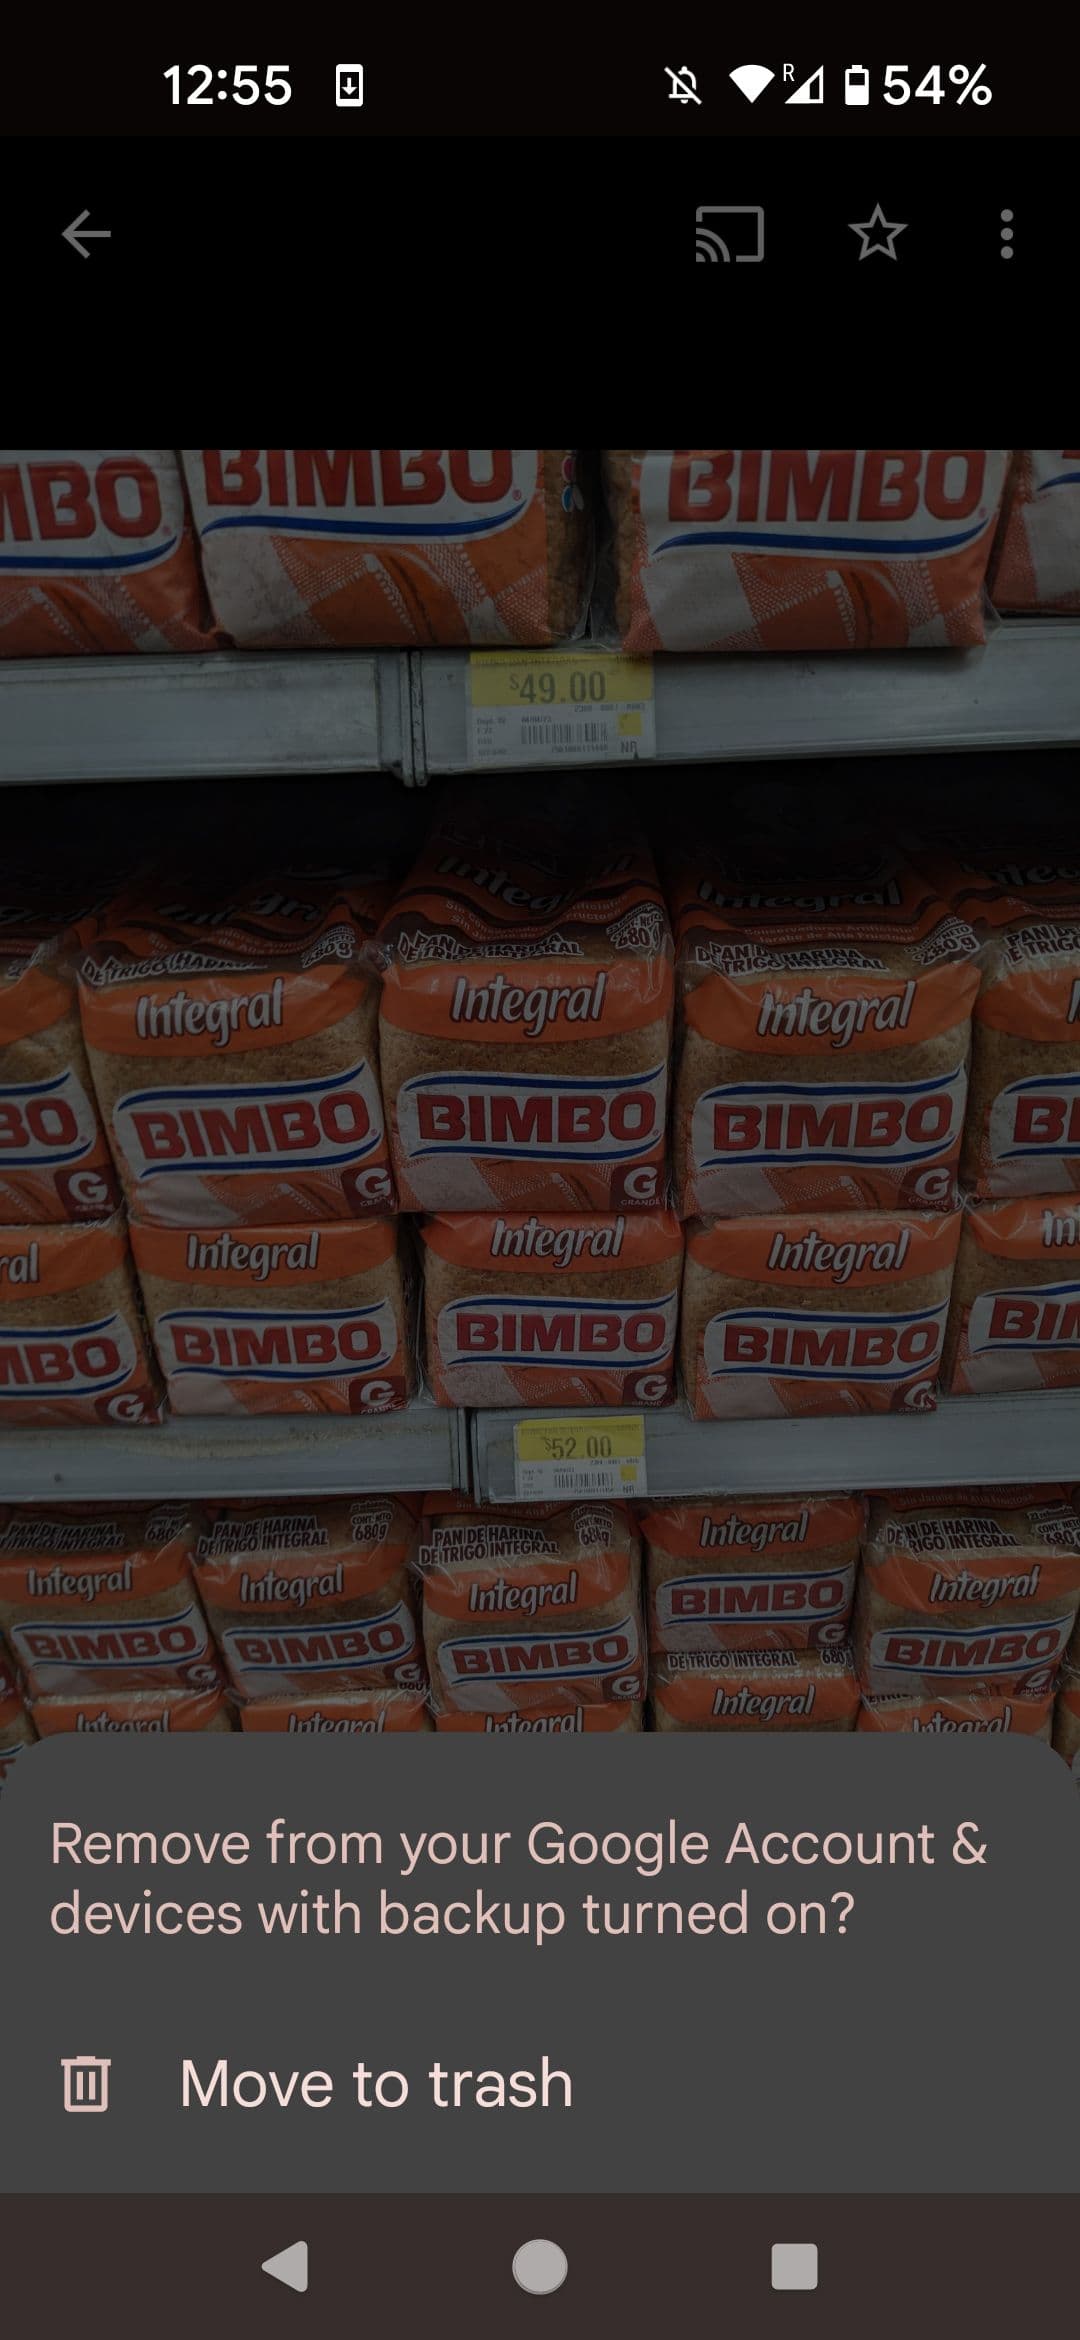
Turn off the backup if you only want to remove the photo from Google Photos and not your synced devices.
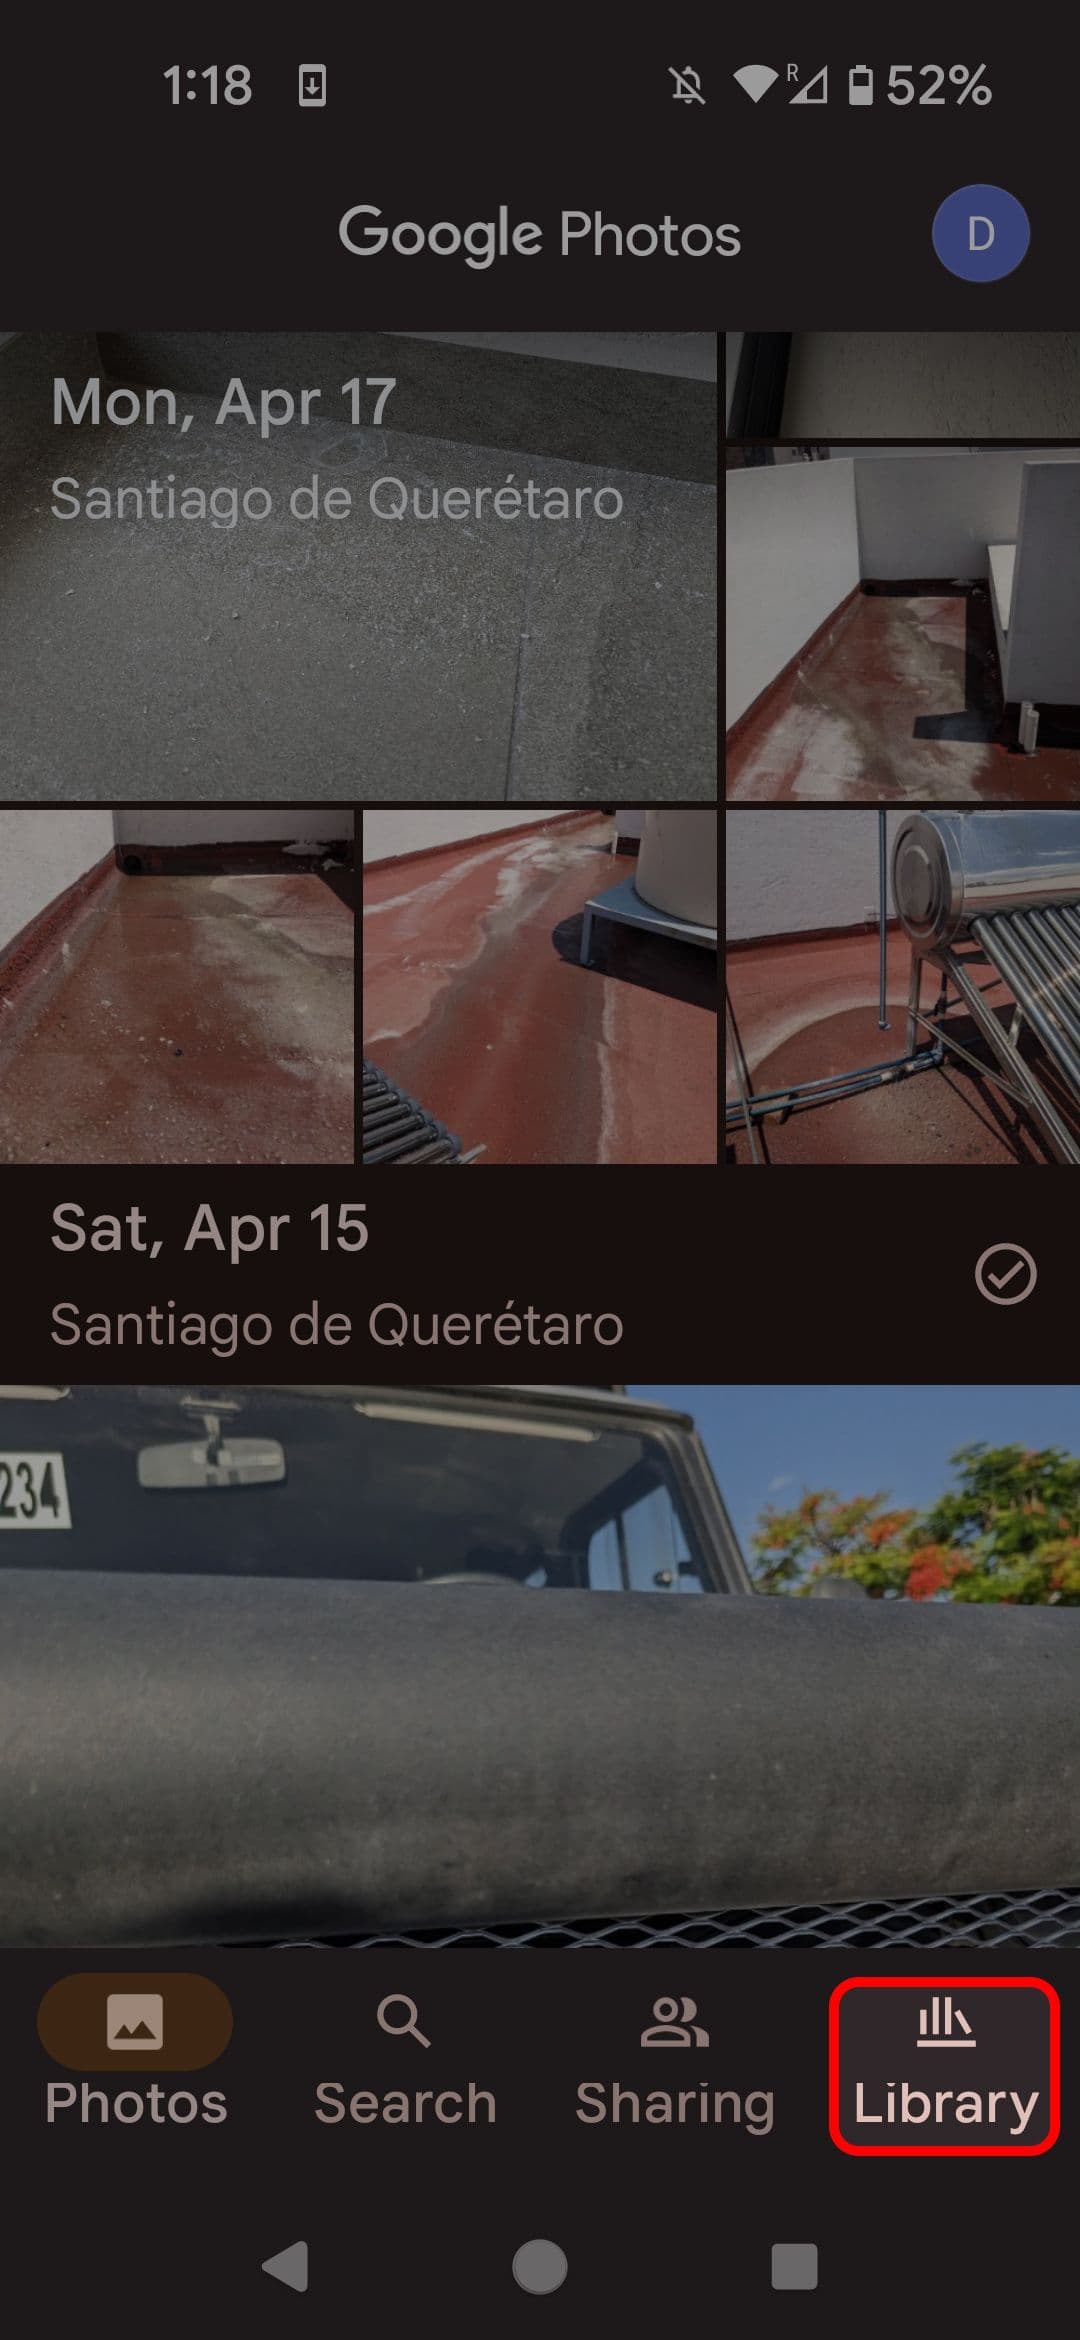
How to recover the photos you accidentally deleted
Mistakes happen. Sometimes (especially when deleting lots of photos at once), the wrong image can end up in the trash can. Recovering the image is usually a simple task.
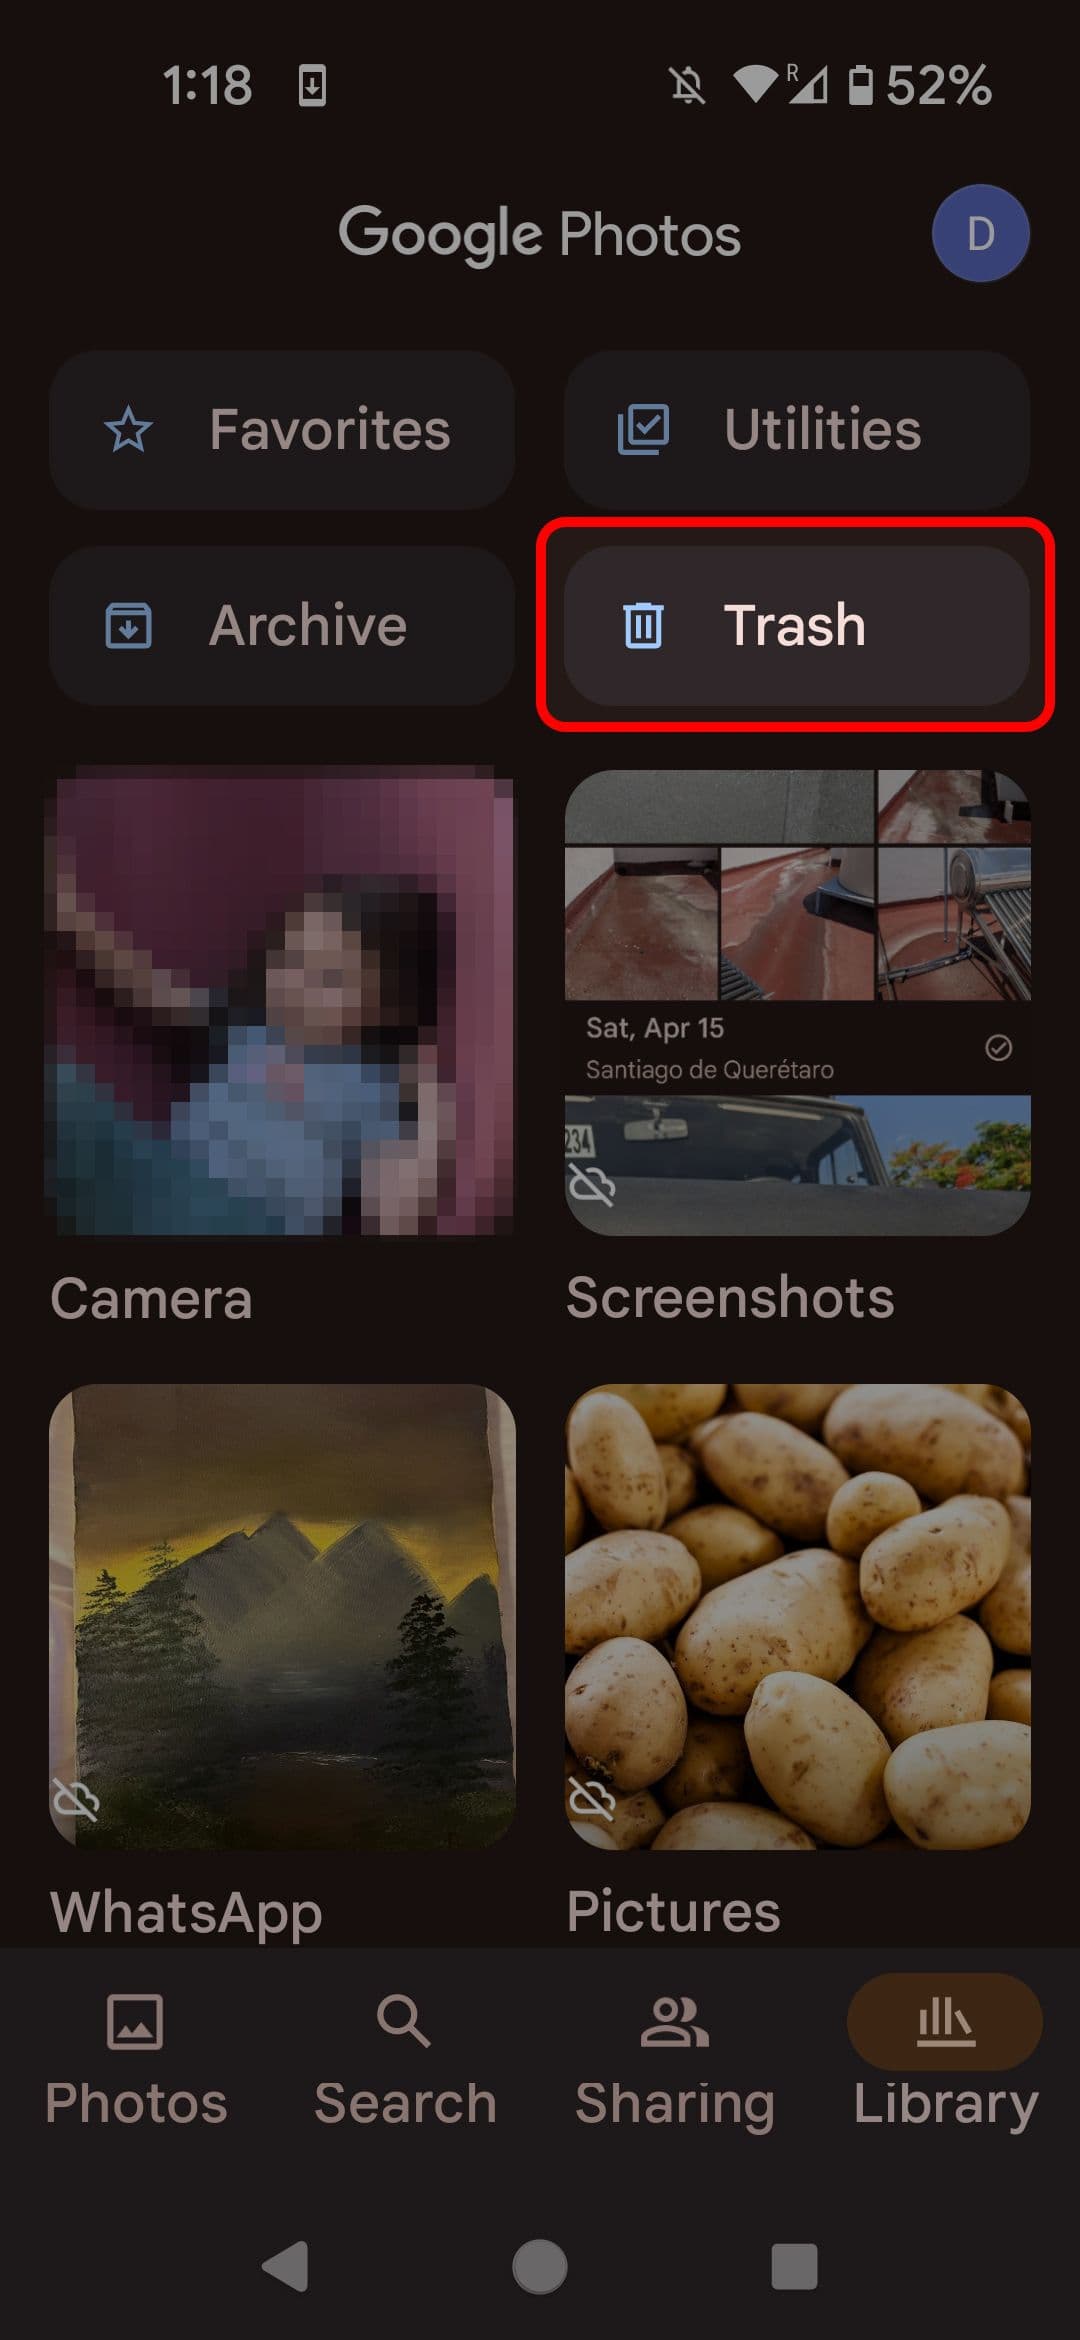
-
Select
Library
from the lower-right corner of the screen. -
Tap
Trash
near the top of the screen.
-
Select the image you’d like to recover and tap
Restore
.
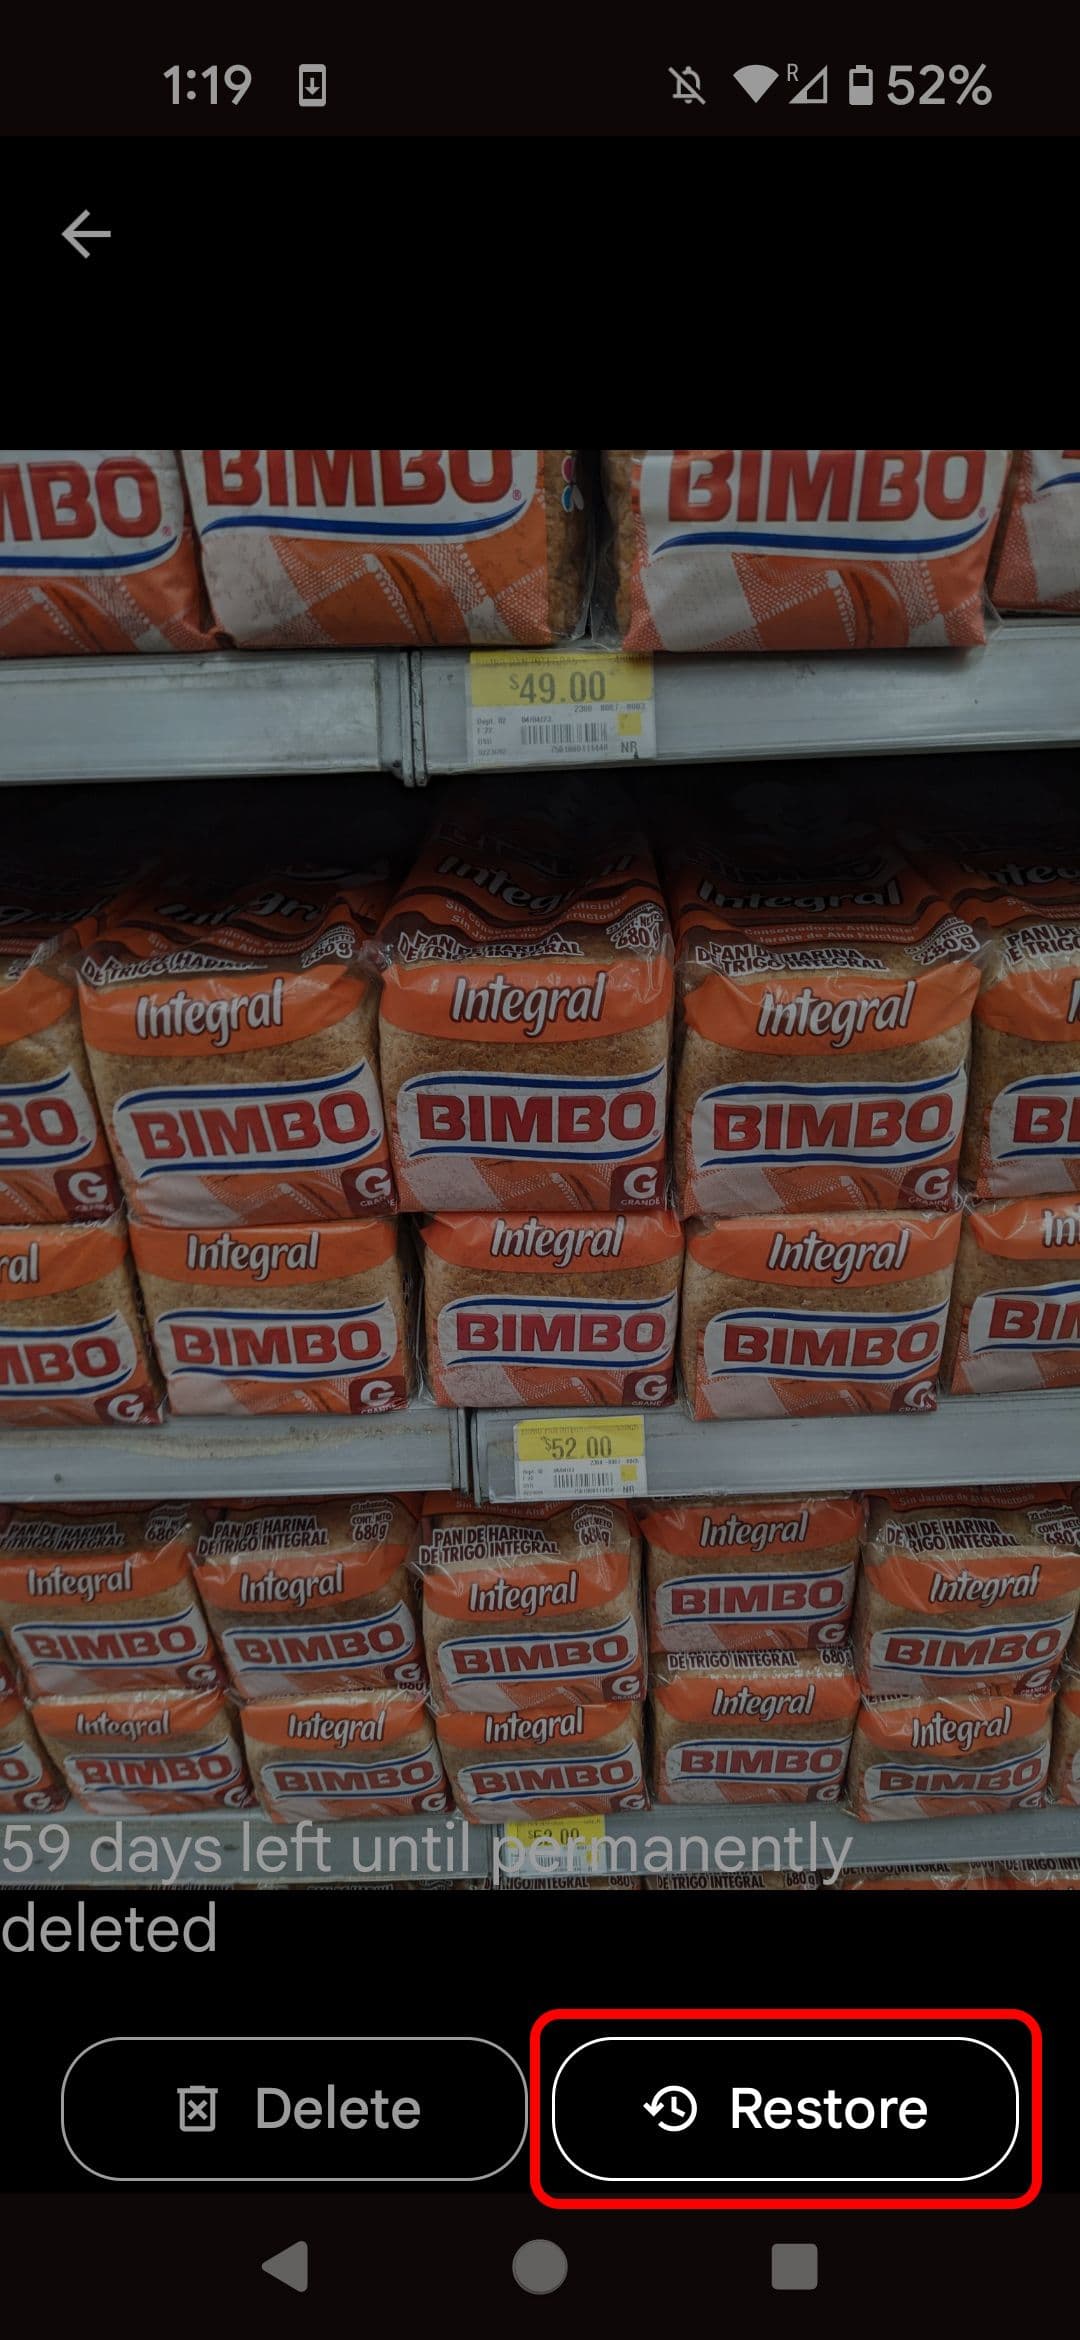
When you turn on backup, Google Photos holds onto your deleted images for 60 days before permanently deleting them. If you don’t have backup on, they are only held for 30 days.
Use Google Photos AI tagging features to quickly find things
Google Photos can search for and group similar photos automatically. All you do is assign a label to a person or pet, and Google Photos identifies other images where they appear. Before you label any photos, turn on Face Grouping. Here’s how to tag photos and turn on Face Grouping.
How to turn on Face Grouping
-
Tap your
profile picture
in the upper-right corner of your screen. -
Tap
Photos settings
. -
Tap
Group similar faces
.
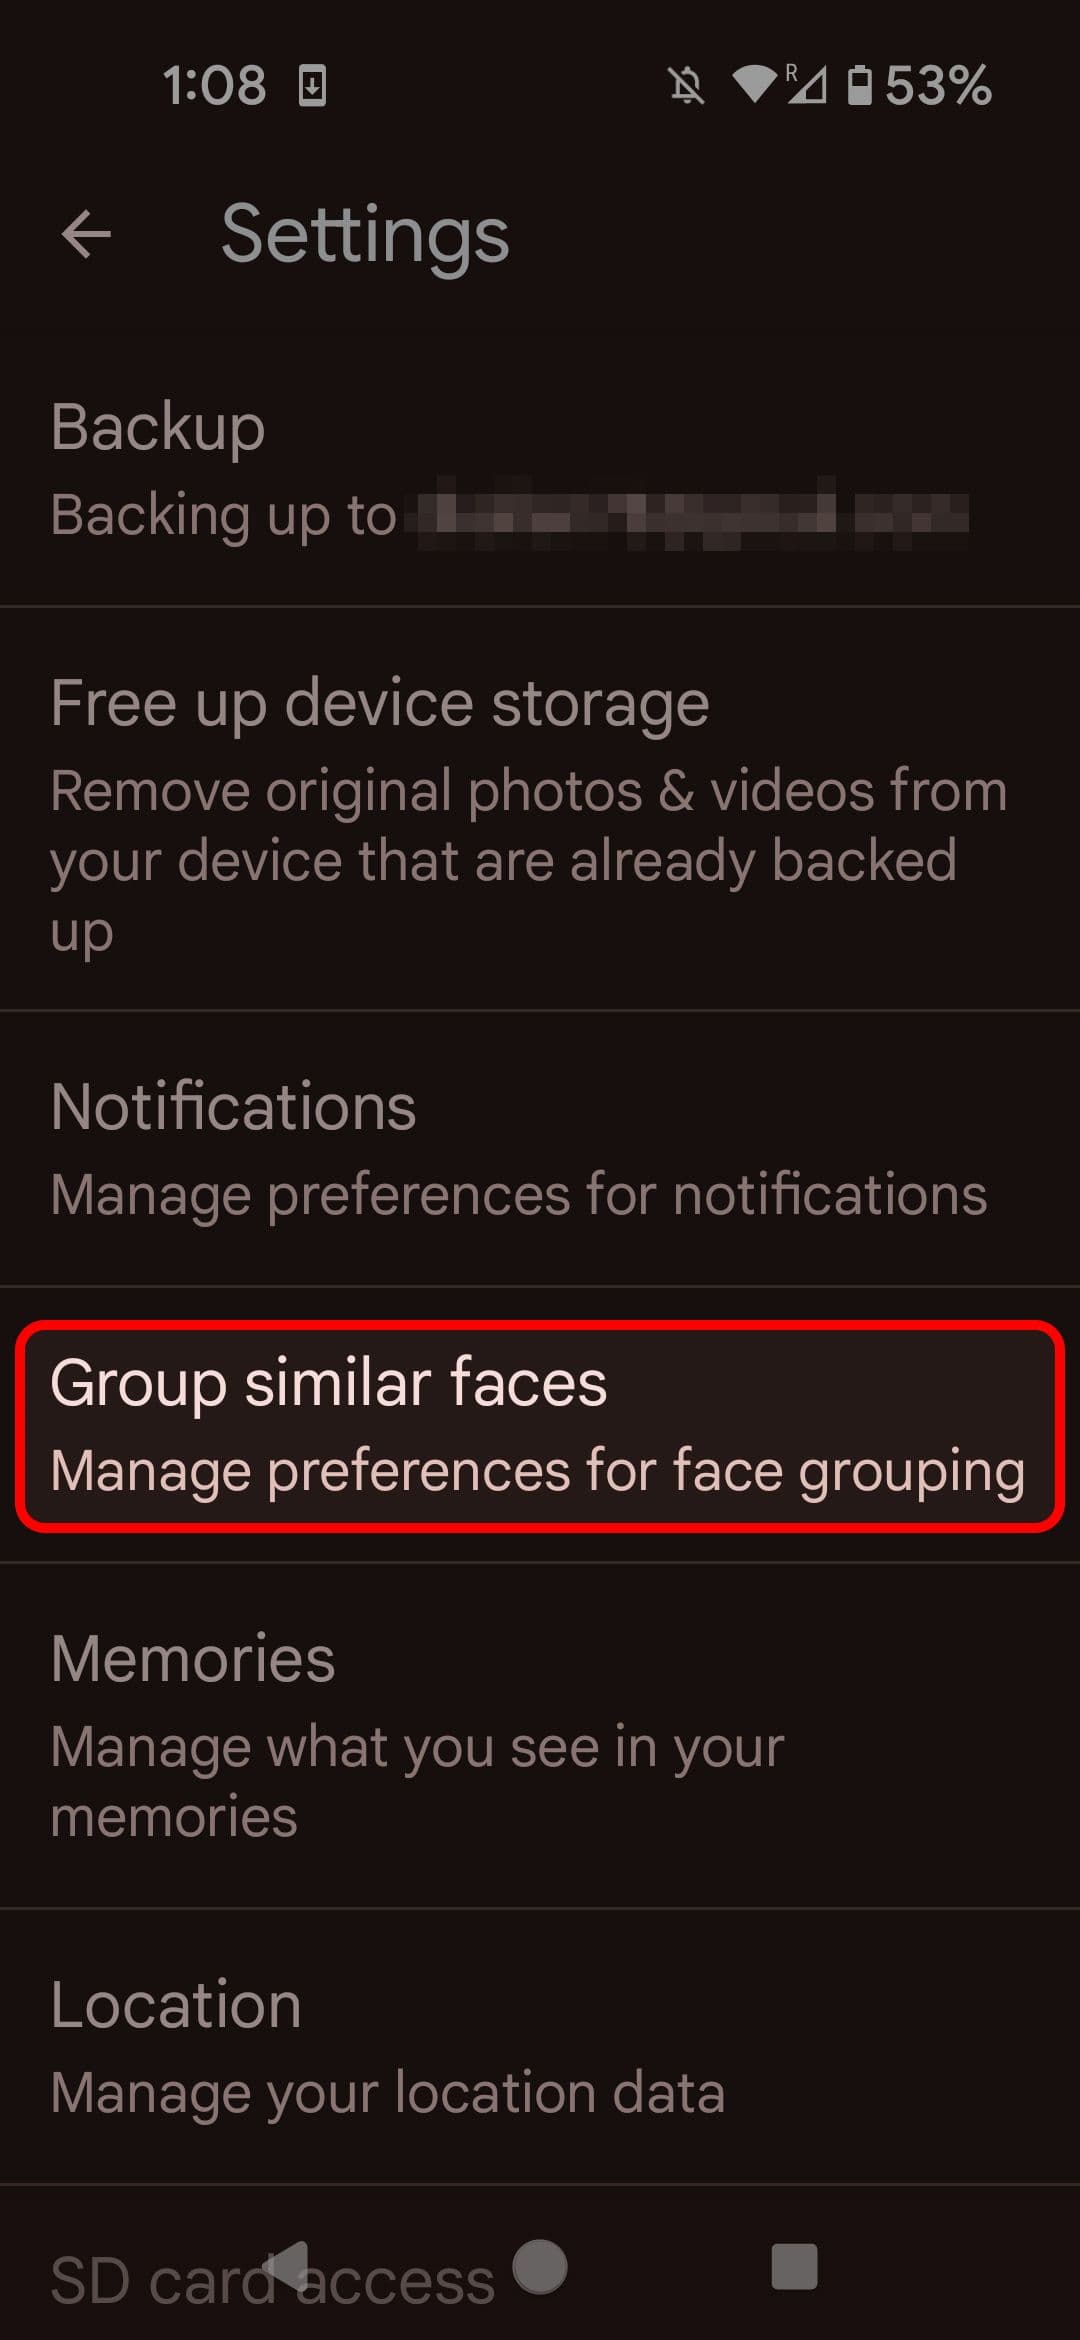
-
Turn on the
Face grouping
toggle. This may be enabled by default.

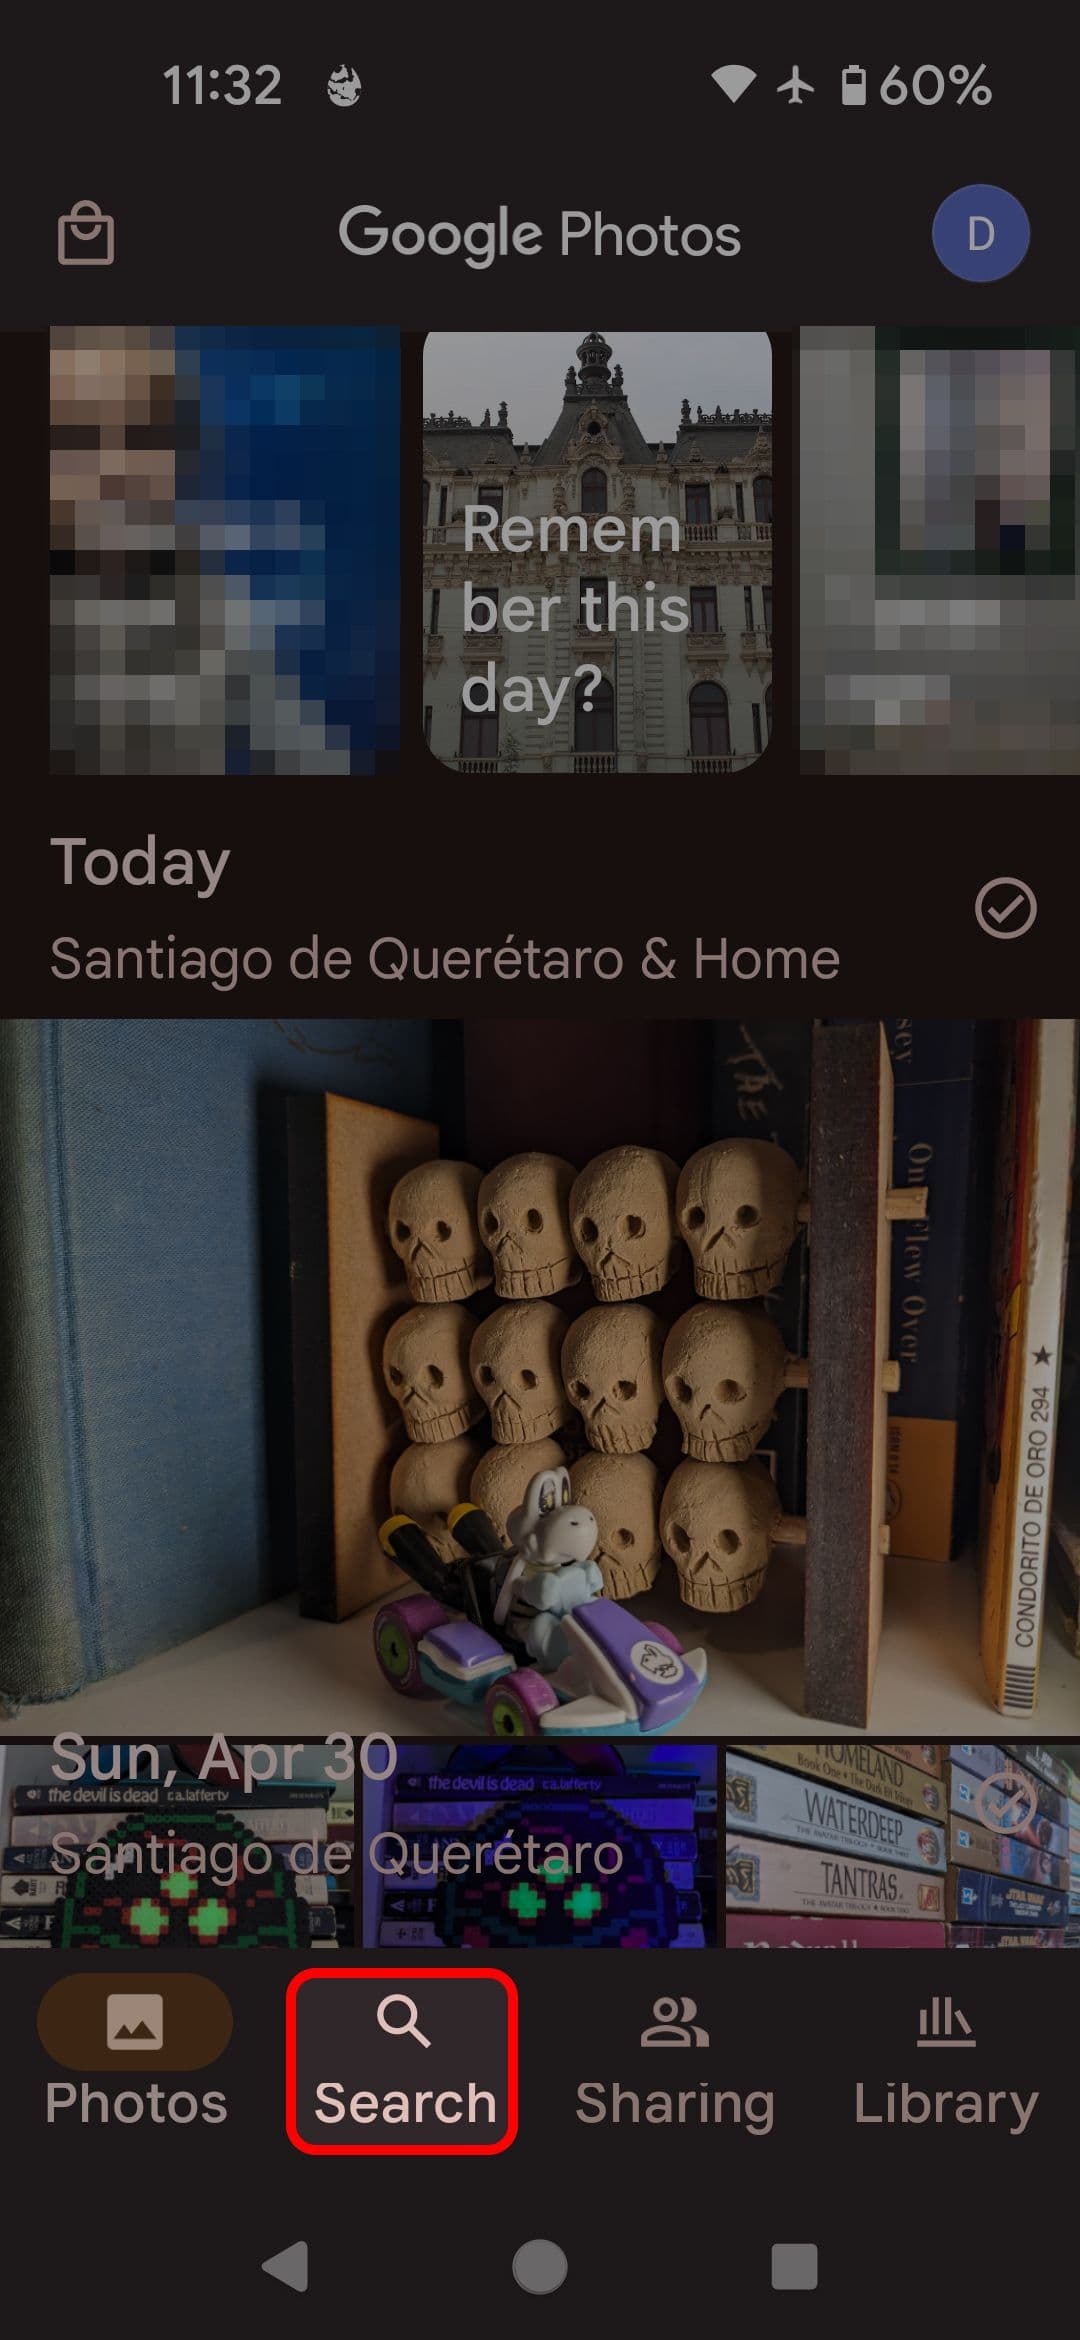
How to tag people and pets in your photos
-
Tap
Search
at the bottom of your screen. -
Tap
View all
underneath the row of faces at the top of your screen.
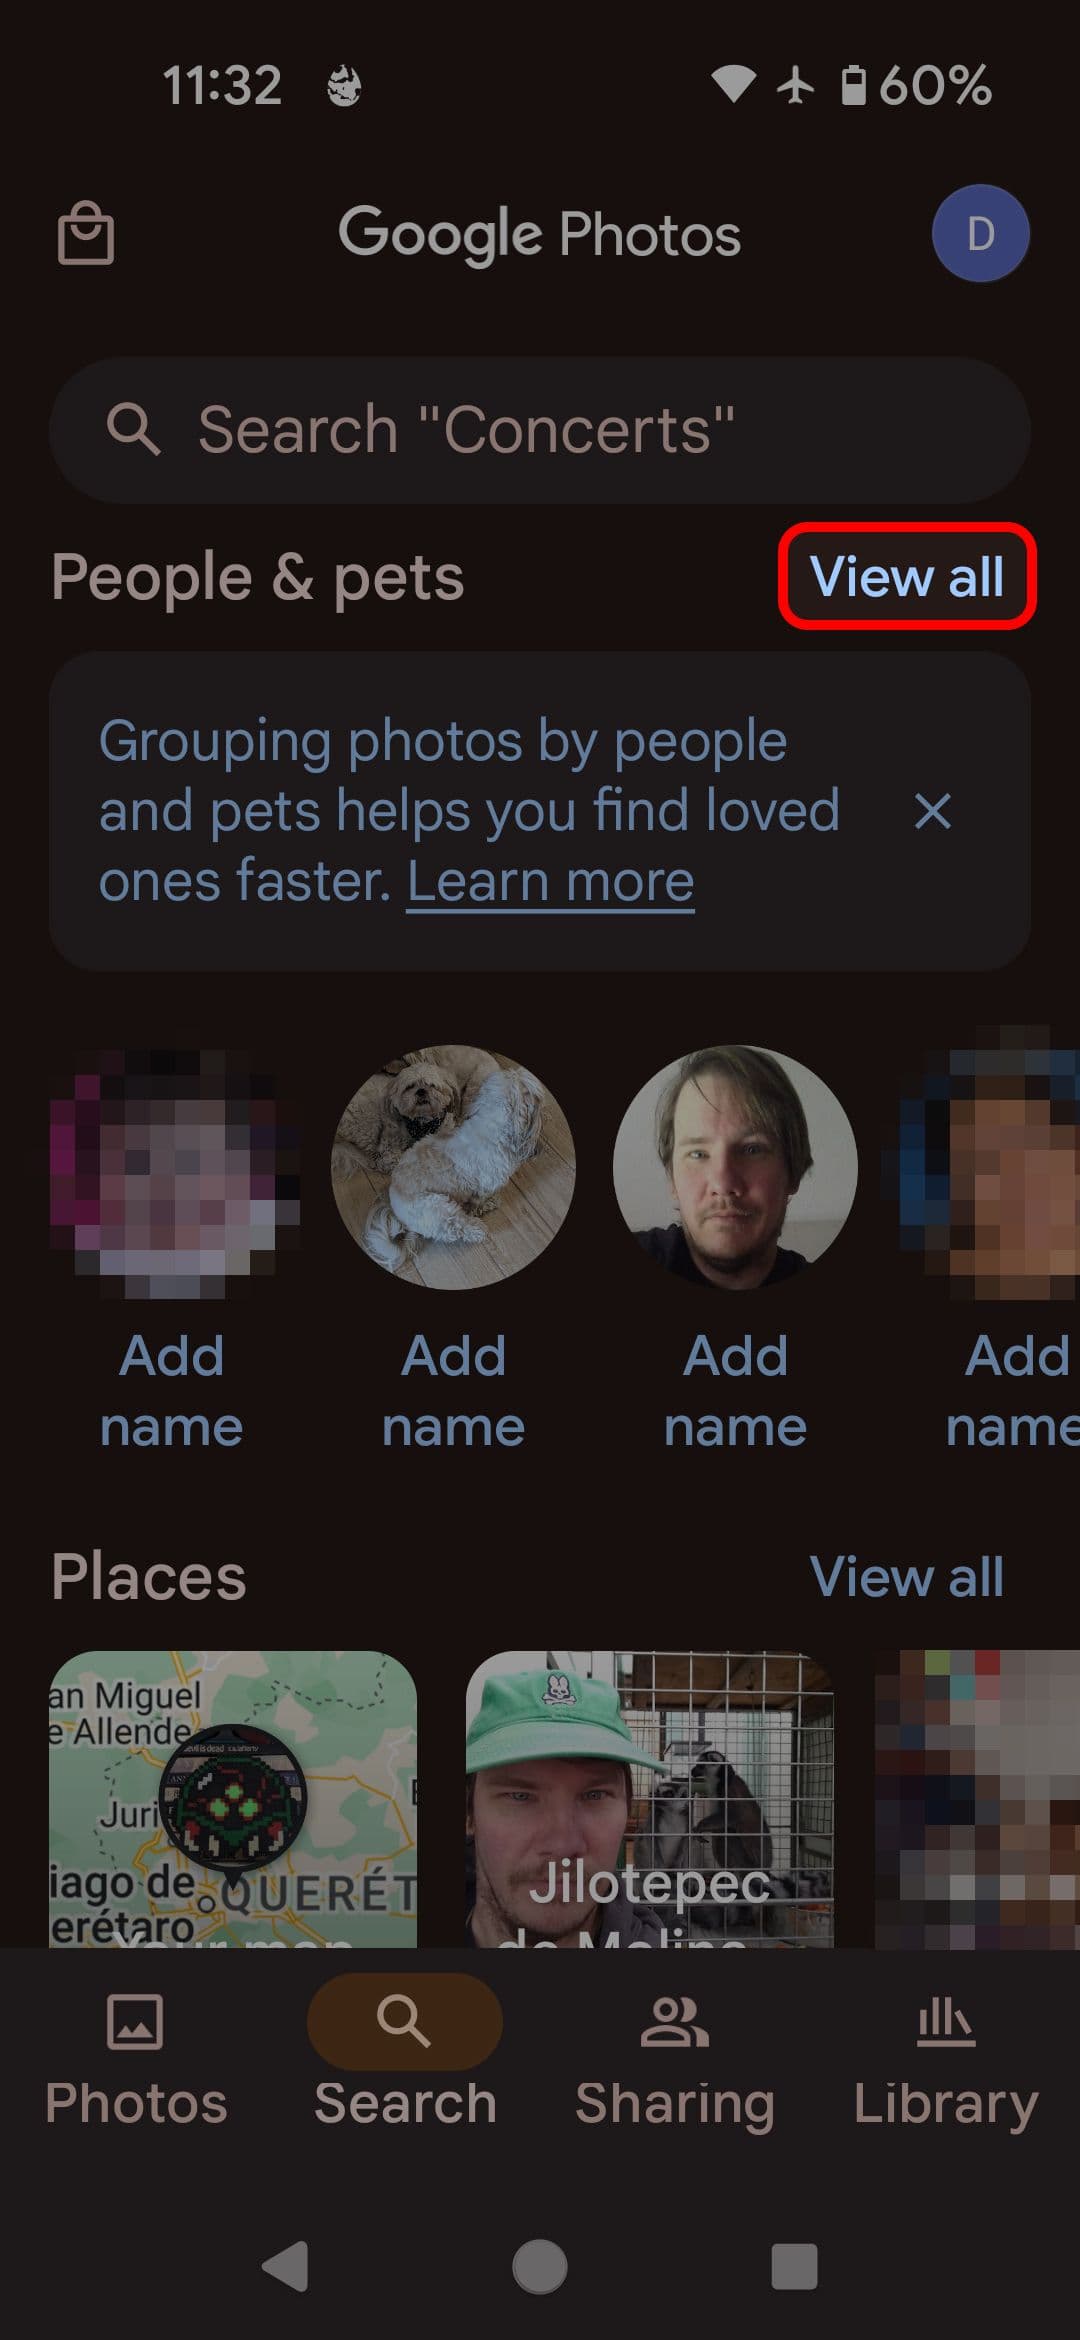
- Scroll down to find the person or pet you wish to label.
- Tap a face to see all the photos of them.
-
Tap
Add a name
and enter a name.
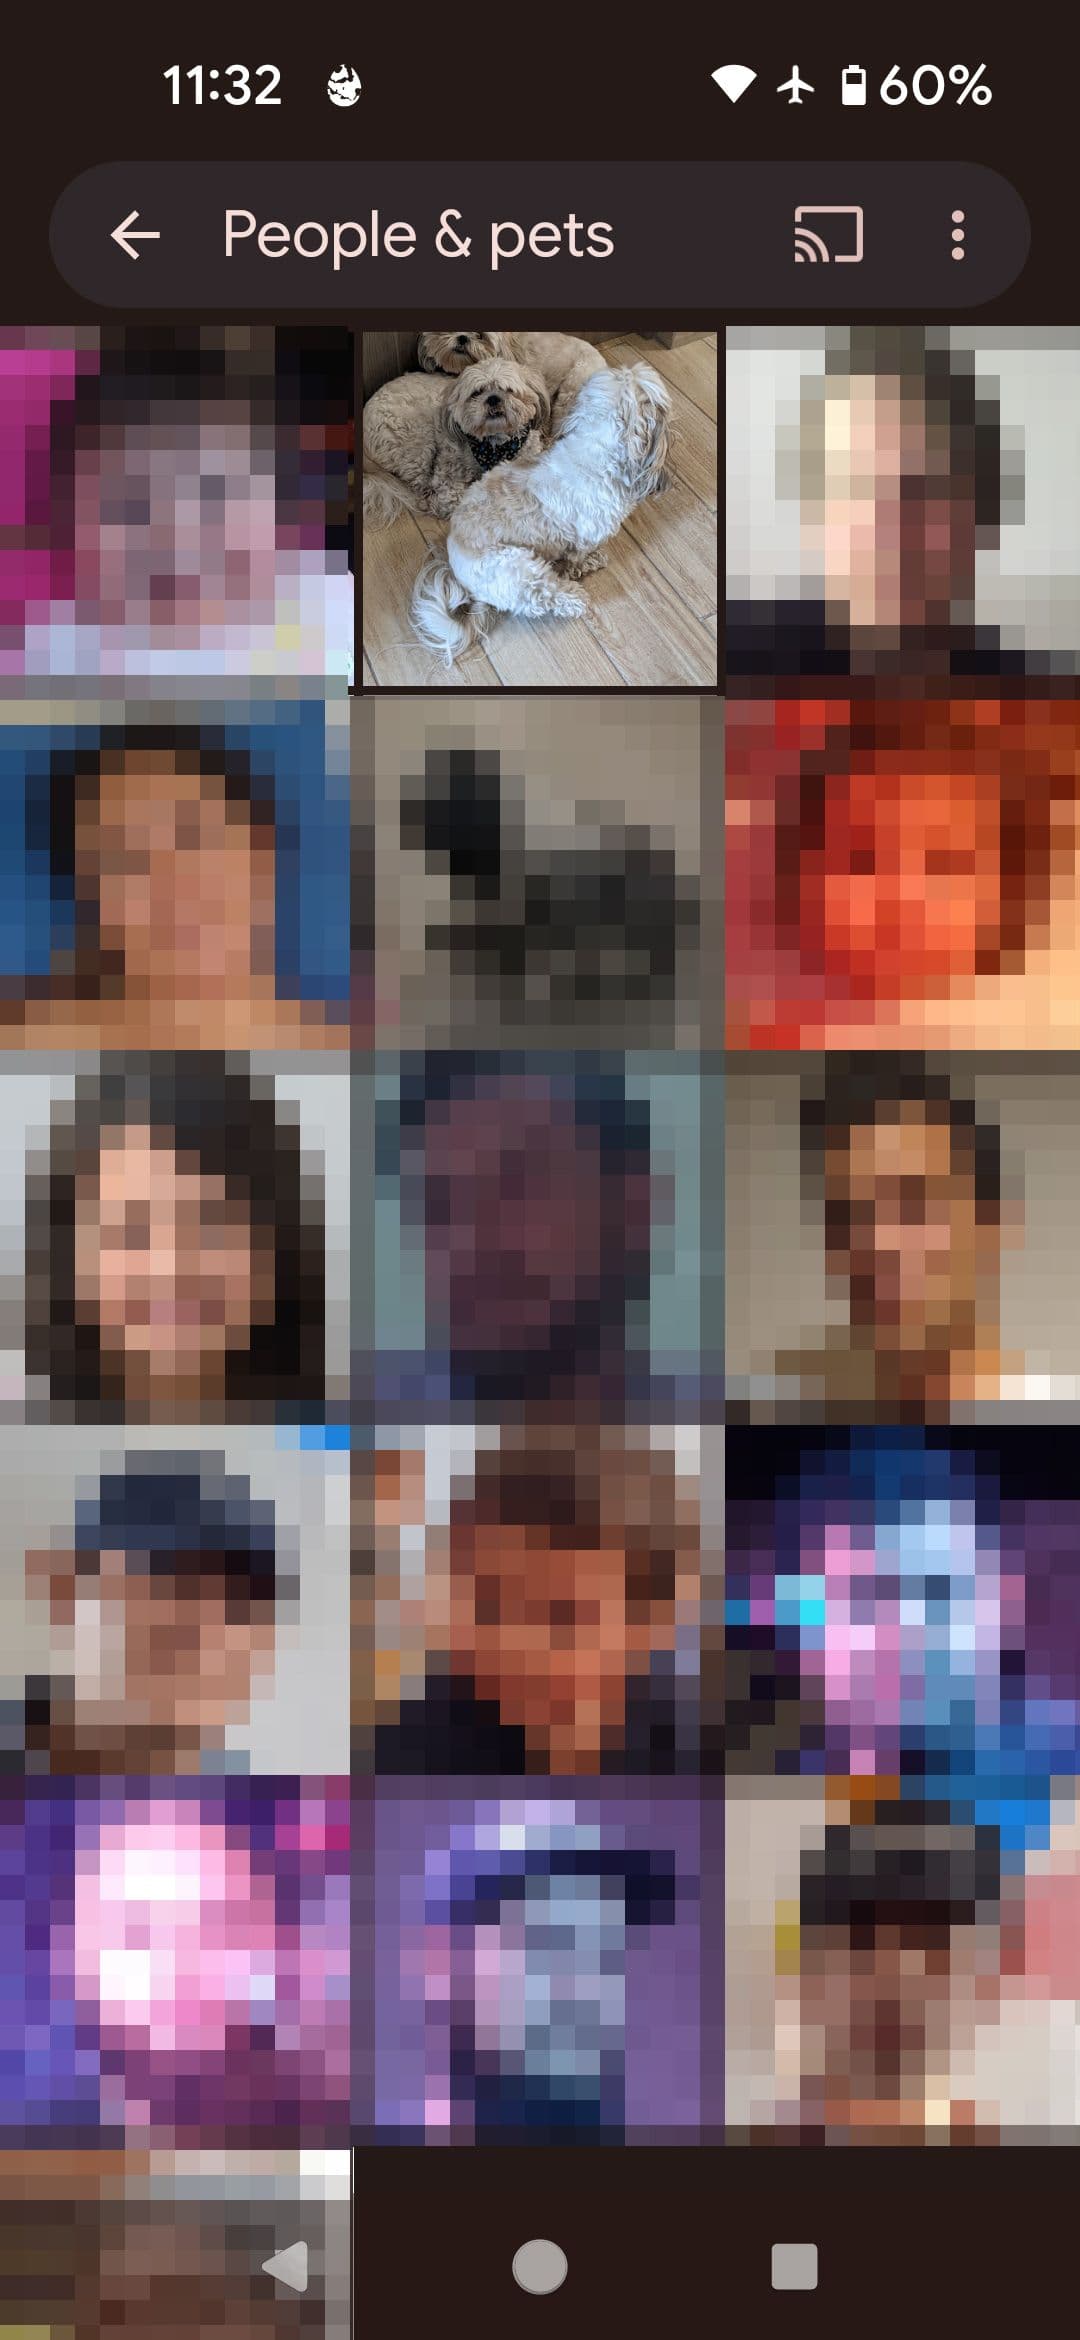
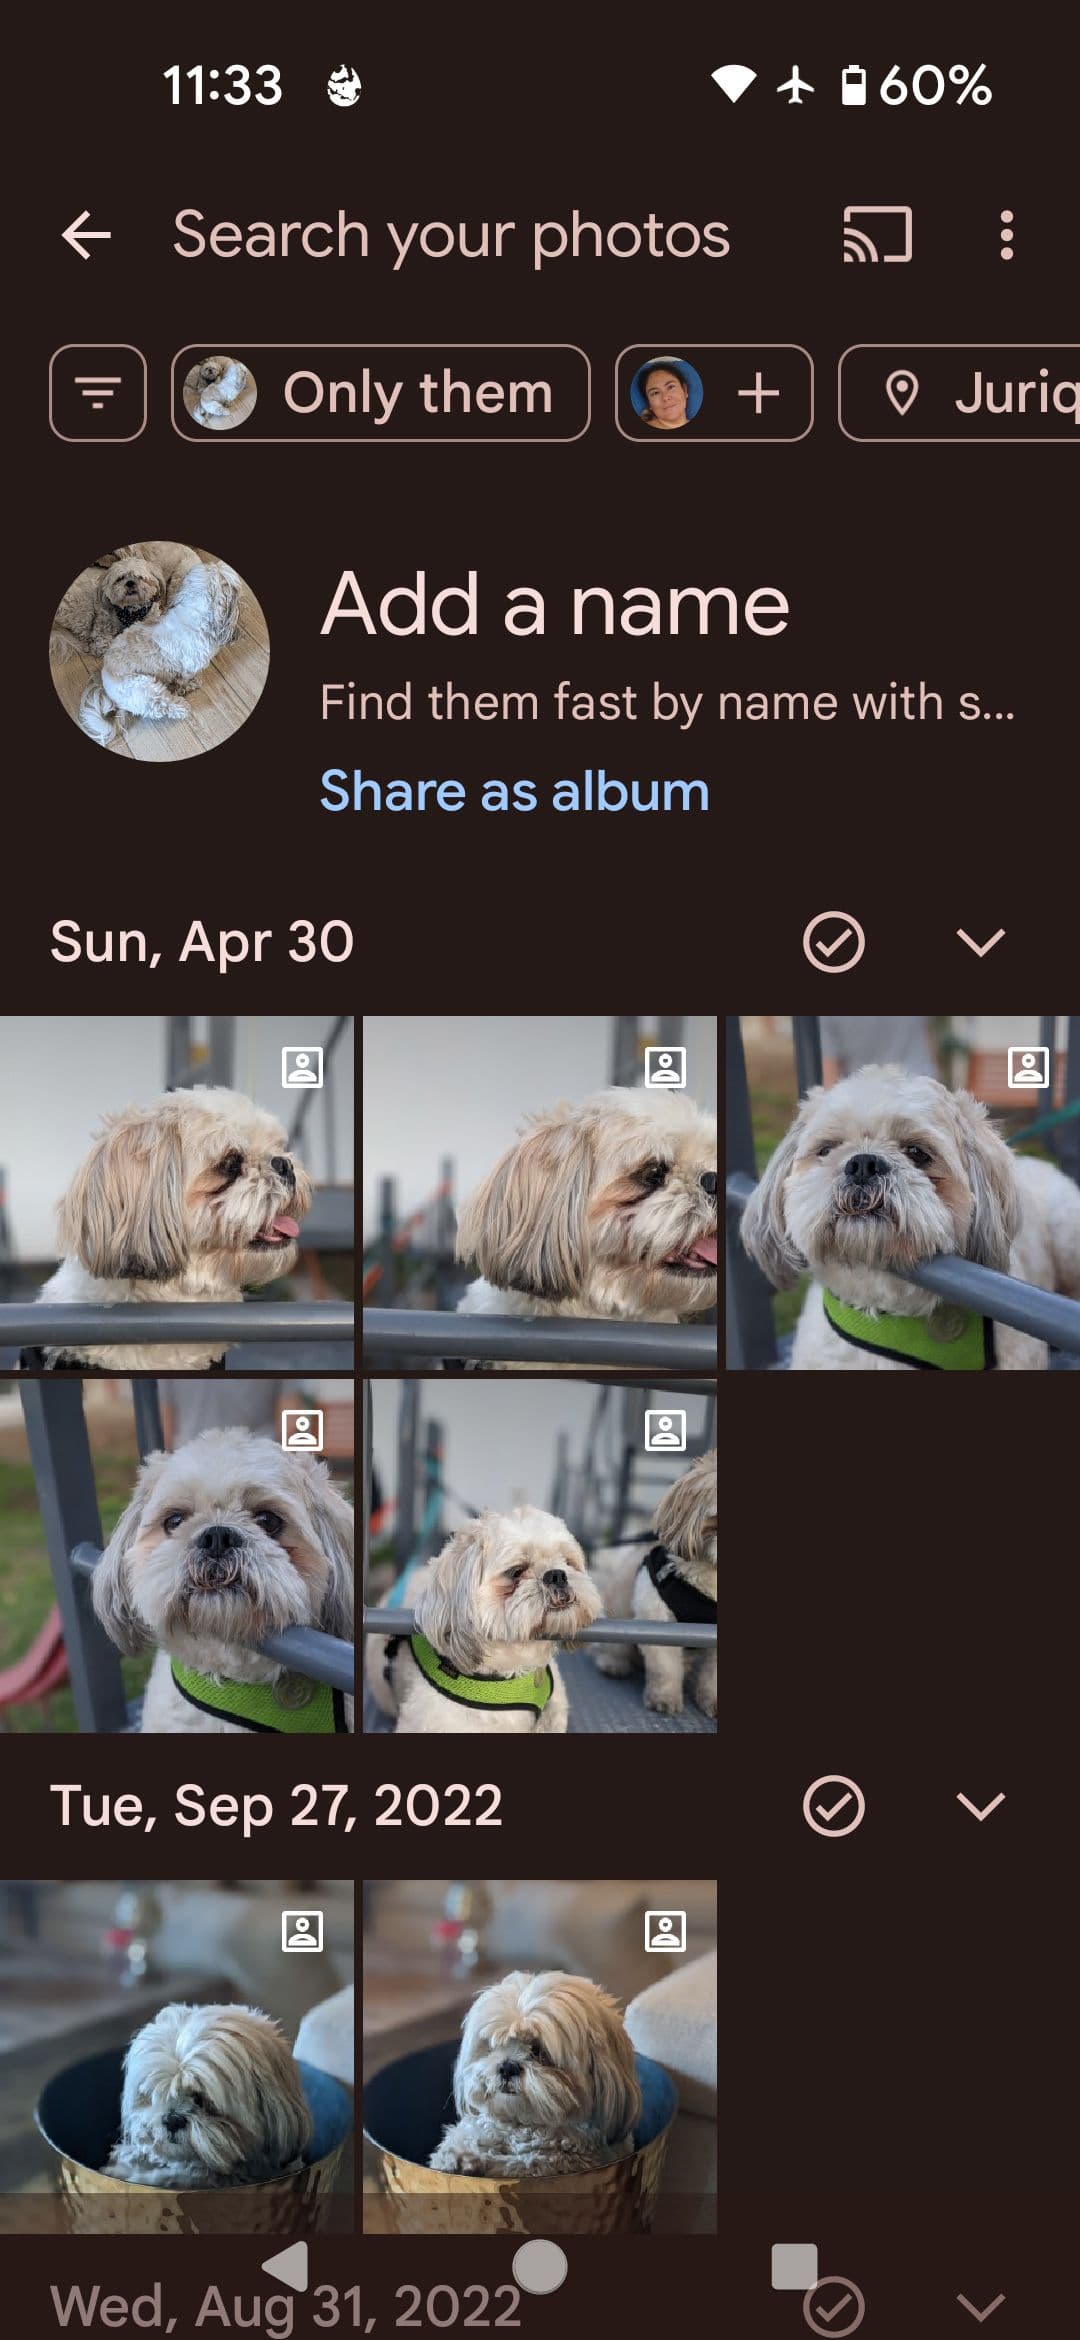
After identifying a person or pet, new photos of them
are automatically labeled. Occasionally, when you open the app, Google may ask you to confirm a label to improve its accuracy.
Compress your photos to maximize your free Google Drive storage
Google Photos no longer allows unlimited cloud storage, so you may need to reduce the size of your pictures. This method doesn’t drastically reduce the quality and only becomes noticeable if the photo is enlarged to a larger size.
-
Tap your
profile picture
in the upper-right corner of your screen. -
Tap
Photos settings
. -
Tap
Backup
.
-
Scroll down and tap
Backup quality
. -
Select the quality at which you’d like to store your photos. Tap the drop-down arrow on each option to display the details of each setting.

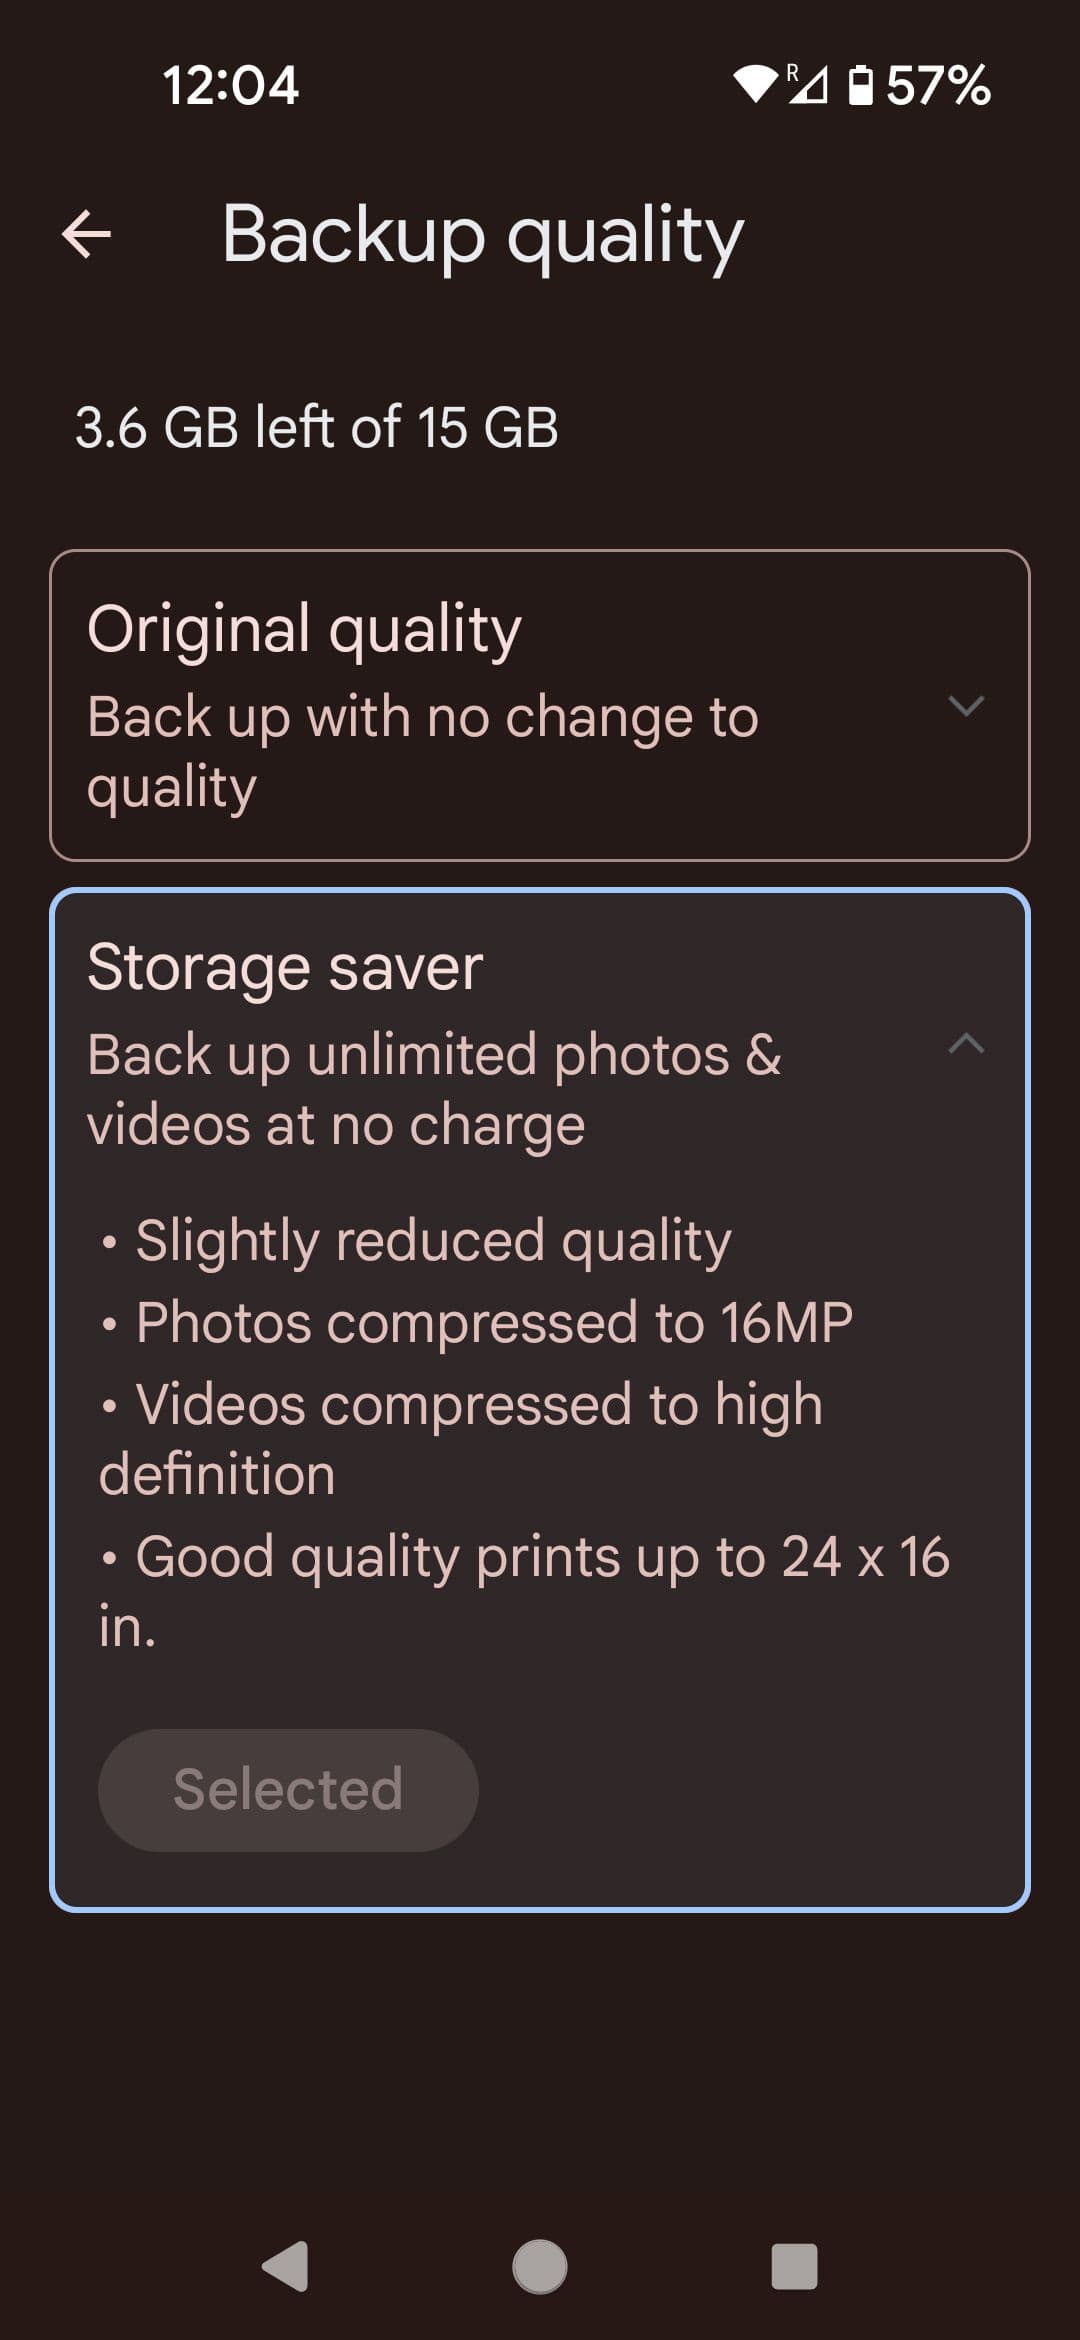
To get more storage, you’ll need to subscribe to Google One. The least expensive plan costs $1.99 a month and comes with 100GB of storage.
You can find just about anything using natural language in Google Photos’ seach bar
The search bar is a prominent feature in Google Photos, but what’s not so obvious is how powerful it is. The app can recognize similar faces, landmarks, Wi-Fi passwords, phone numbers, hiking trips, and more. It’s a feature best explored on your own, but here are some examples of how to use it:
-
If you took a picture of your router’s password sticker, search the phrase
“Wi-Fi password” to display the photo. -
If you took pictures at a wedding, type
“wedding” in the search bar to group the photos you took at the event. - If you took photos walking in nature, type “hiking” to view those images. It’s smart enough to exclude photos with buildings present.
- If you have several photos of boats and want to find a specific type of vessel, search for “ferry” to see the ferries in your gallery.
It’s not as intelligent as we would sometimes like, and it can get confusing if you include queries with more than one word. However, it’s a fantastic feature that can save hours of scrolling once you learn its quirks.
Learn more about just about anything by using Google Lens on photos you’ve already taken
The basic search box has some powerful AI behind it, but Google Lens is where it truly shines. You can use this tool to translate text, identify plants and animals, shop for clothing, copy text to your computer, solve equations, identify board game parts, and more.
-
Open the
Google Photos app
. - Tap the photo you wish to scan.
-
Tap
Lens
. -
Scroll left or right to change the search method.
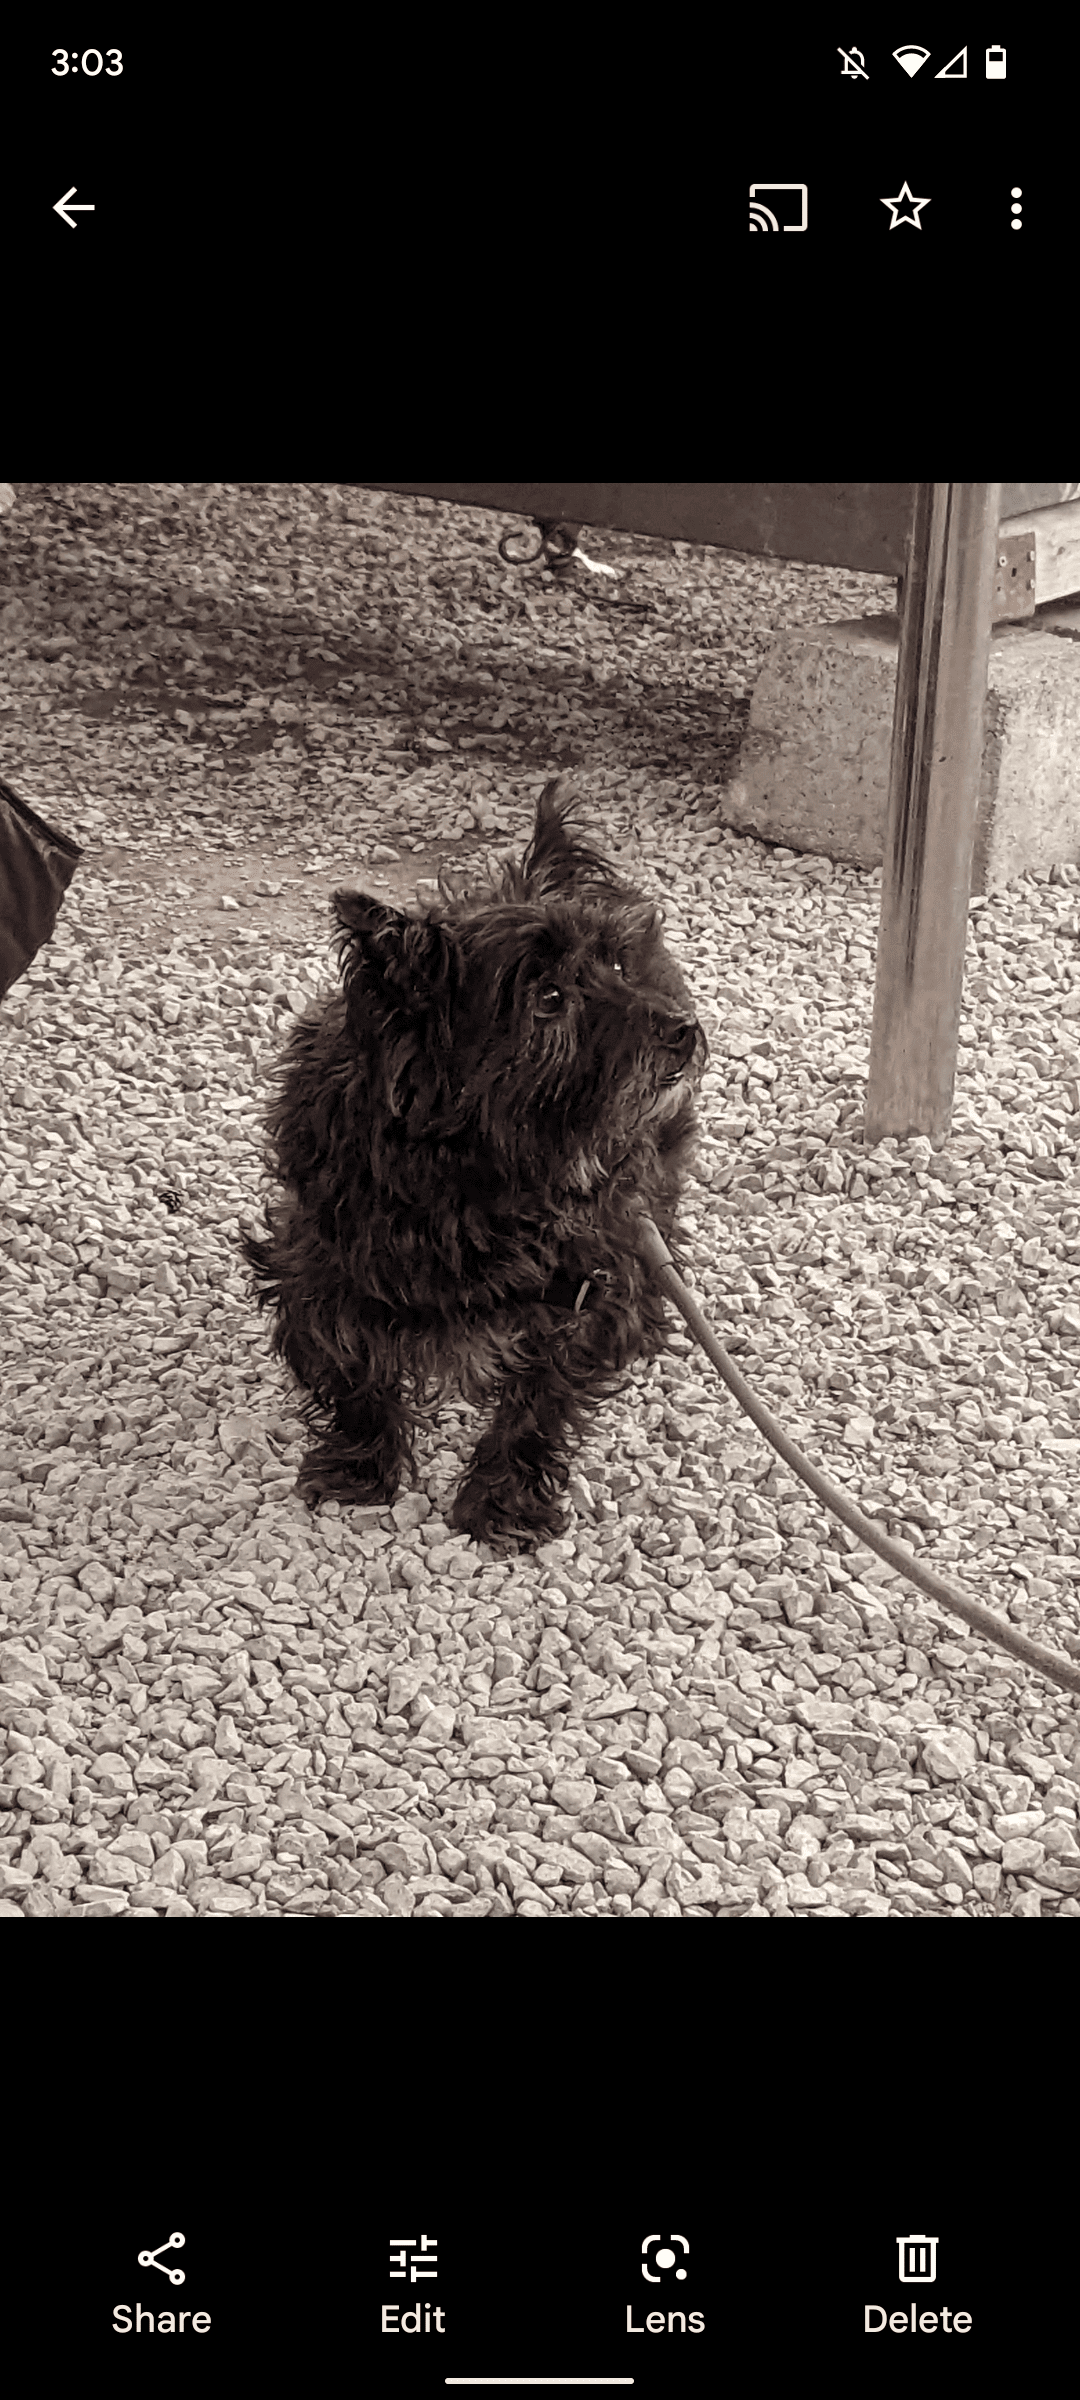
- Swipe up to expand the search.
Add some whimsy to your pics with collages, animations, and movies
When you want to edit your photos or videos into something more substantial than an album, do it in the Google Photos app.
Movies are a quick way to group up to 50 photos and videos into a short clip with accompanying music. Collages let you select two to nine images and automatically arrange them for you, and Animations play a slideshow of up to 50 photos.
-
Tap
Library
at the bottom of your screen. -
Tap
Utilities
in the upper-right corner of your screen. -
Scroll down to the
Create New
heading. -
Tap
Movie
,
Animation
,
or
Collage
.


- Follow the on-screen instructions.
You’ll find your creations by heading to the
Search
tab, scrolling down, and tapping
Saved creations
.
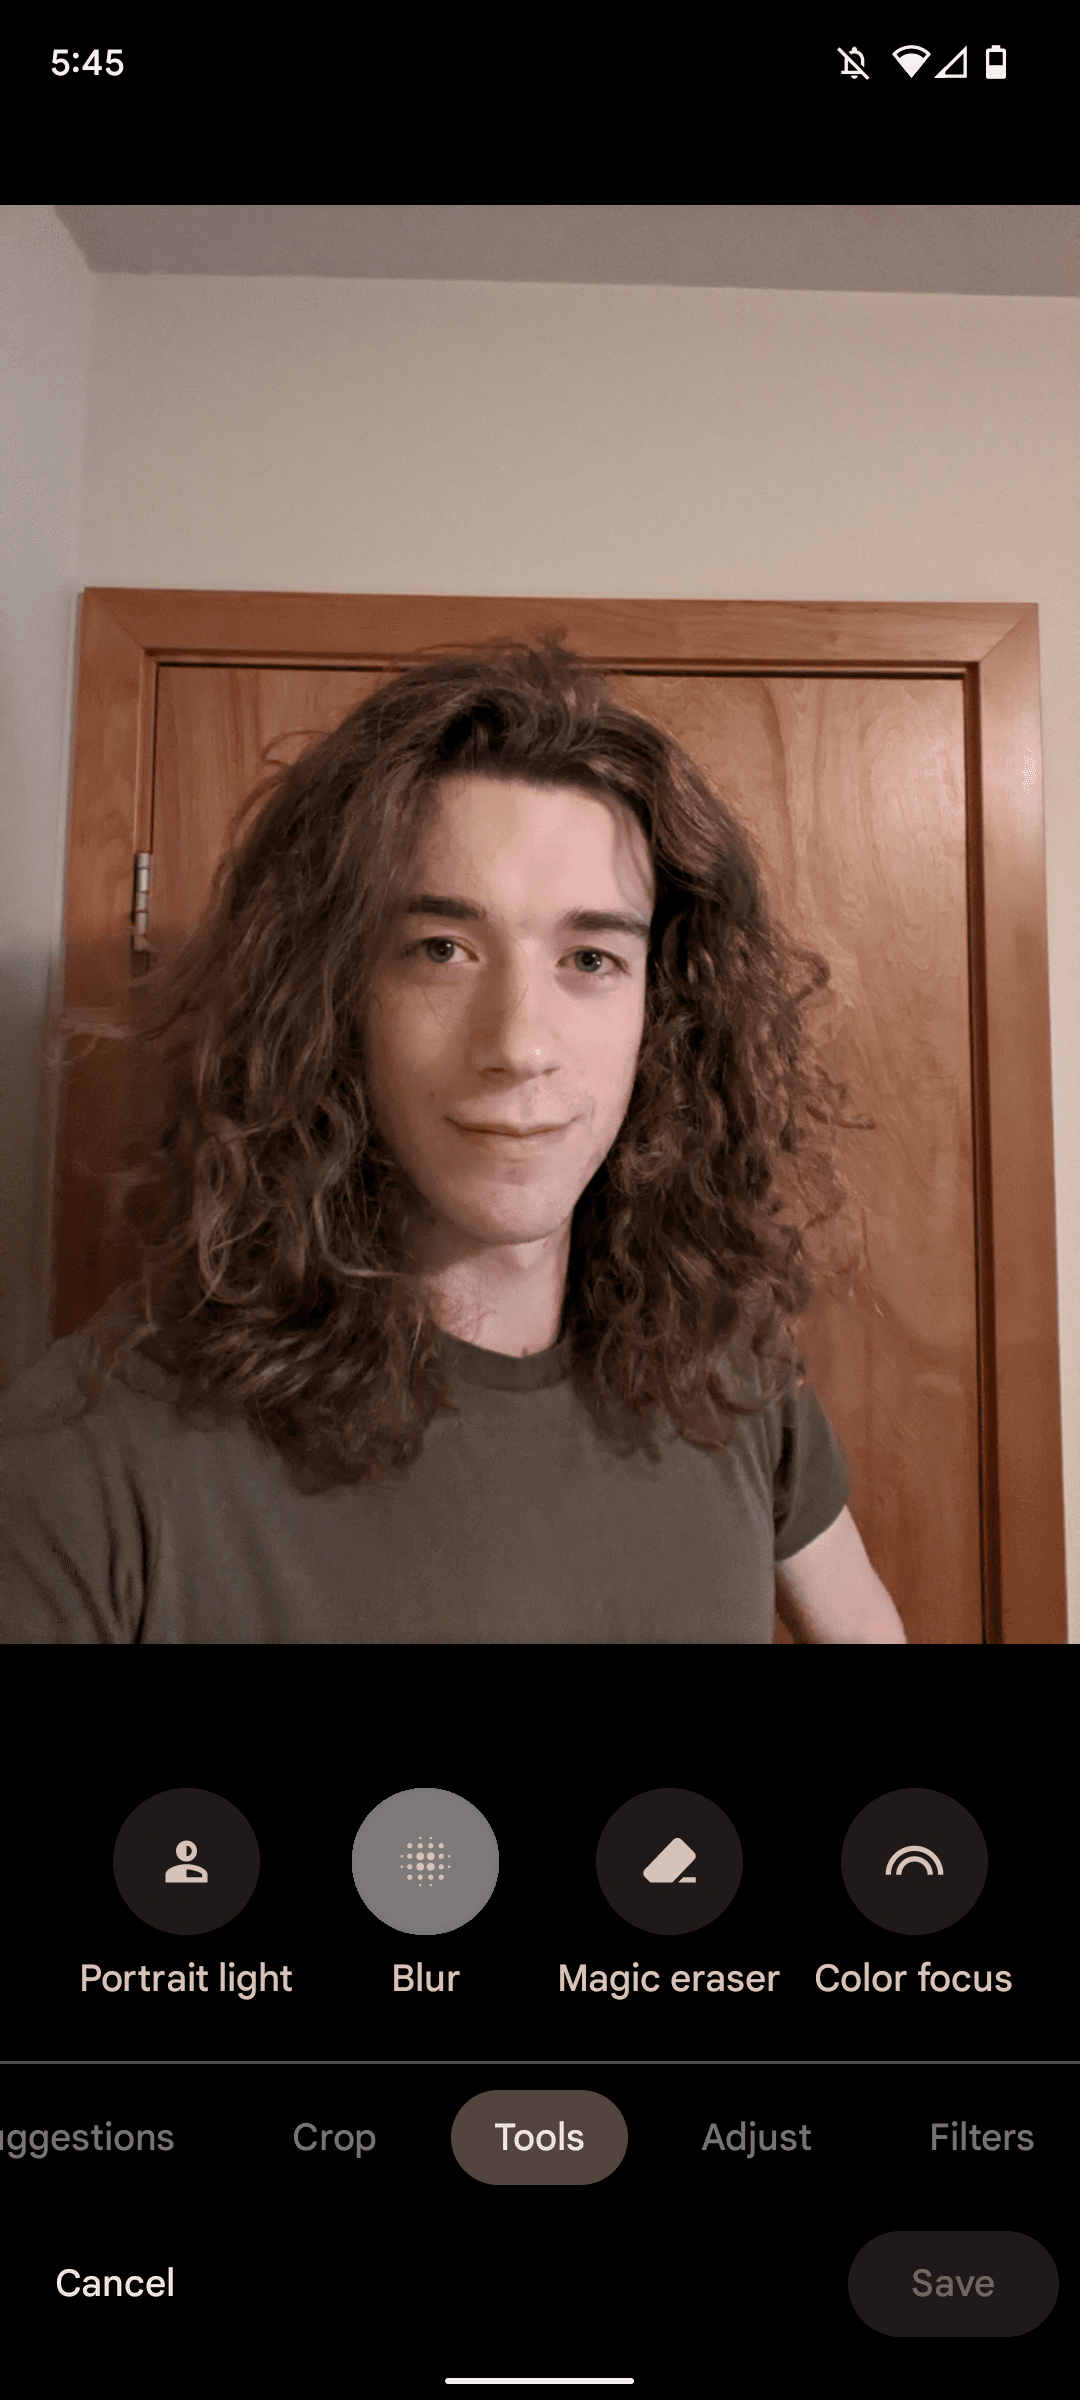
Portrait mode is a great way to enhance your selfies by blurring the background, but what if you’ve already taken a photo? No problem. You can add a bokeh effect in the Photos app. The feature only works if the app detects a face in the image, so unless you’ve taken a picture of a face-shaped tree, you can only do this with people.
-
Open
Google Photos
. - Tap the photo you wish to blur.
-
Tap
Edit
. - Scroll right on the options bar.
-
Tap
Tools
.
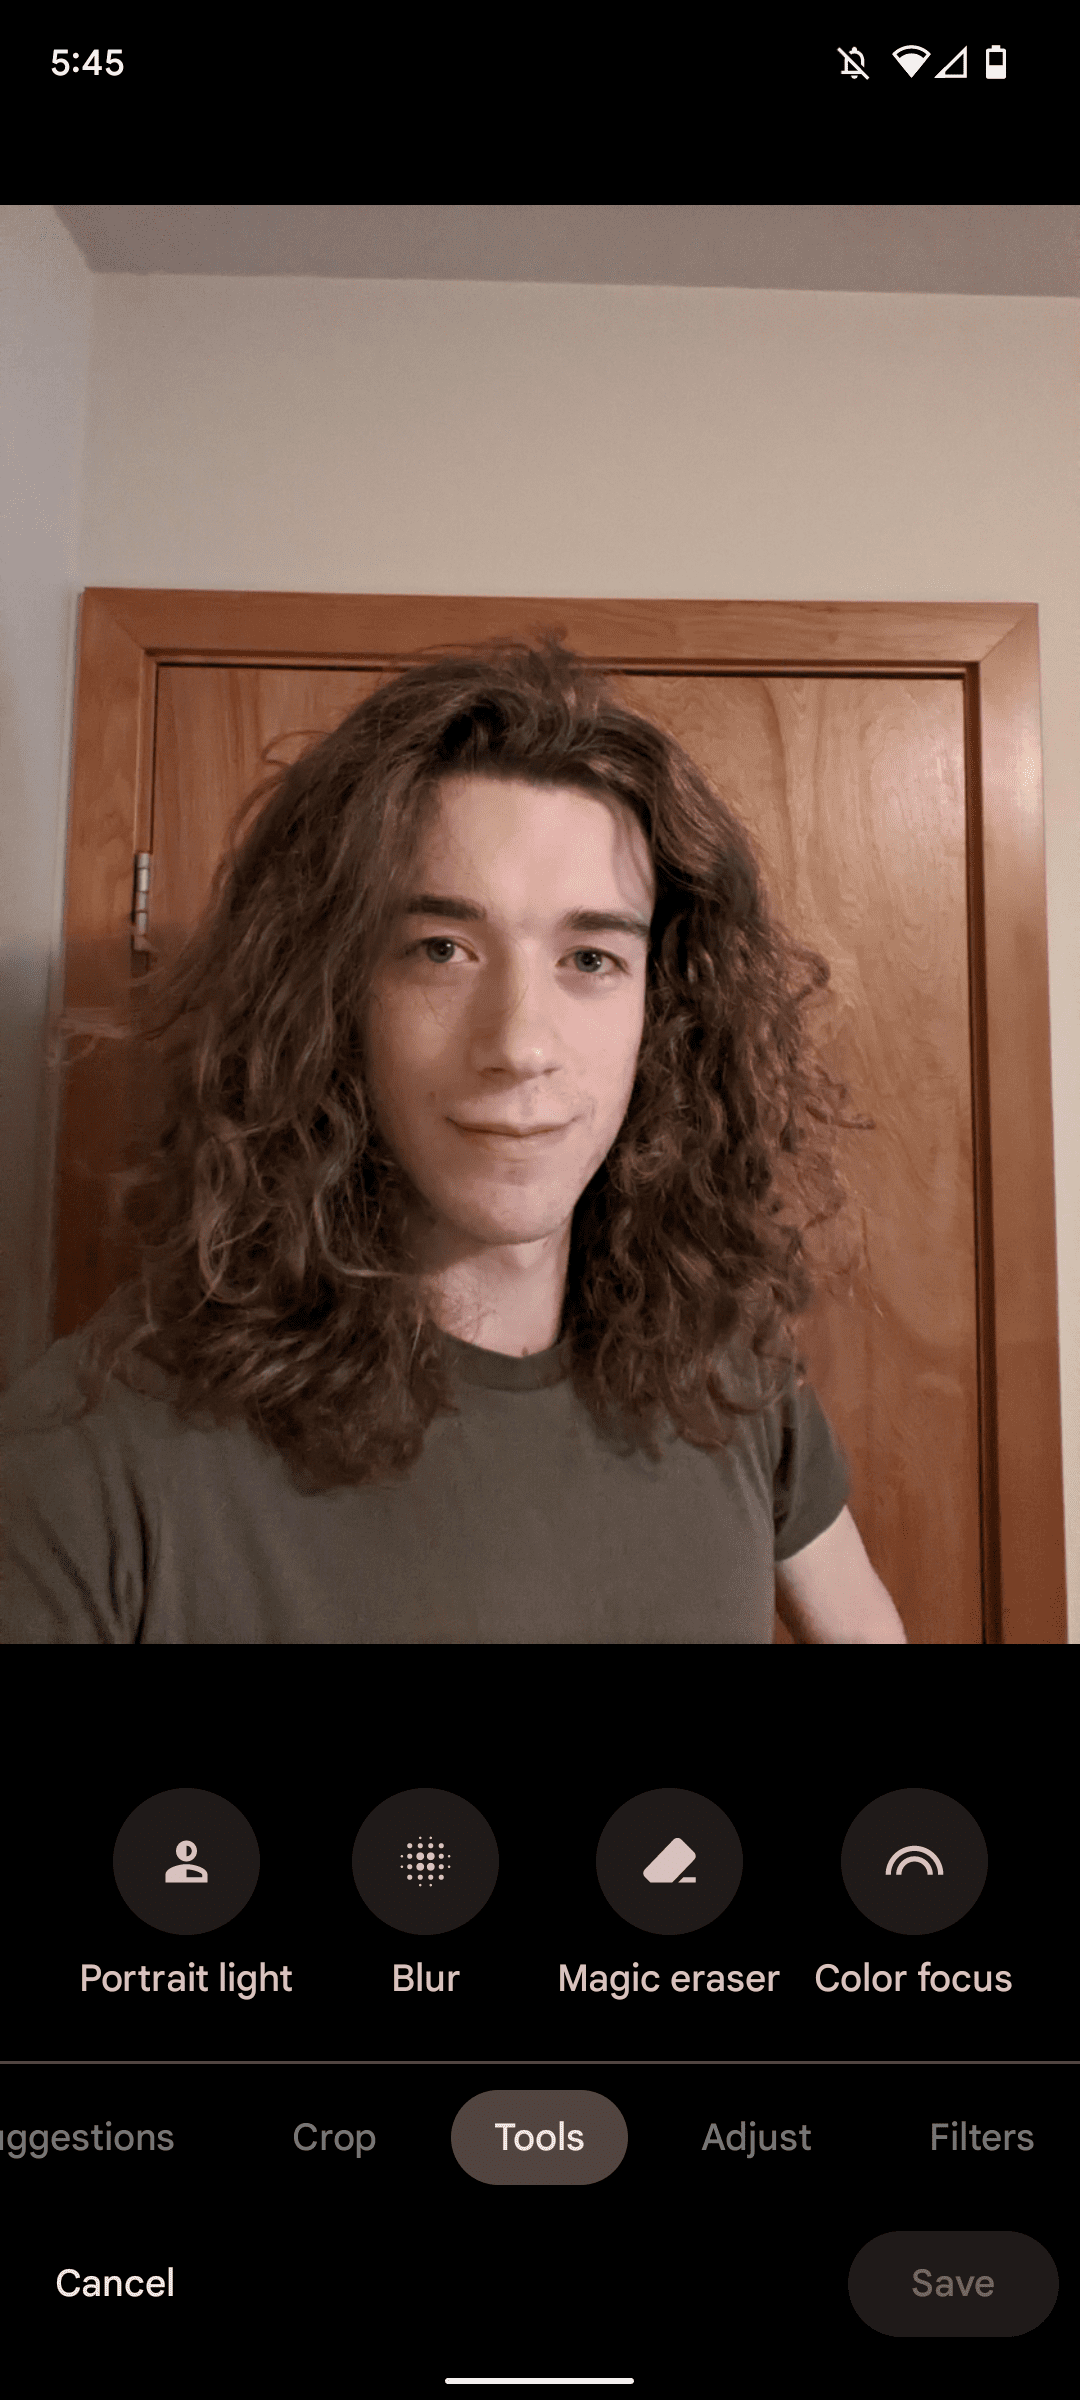
-
Tap
Blur
. -
Adjust the setting to your preference.
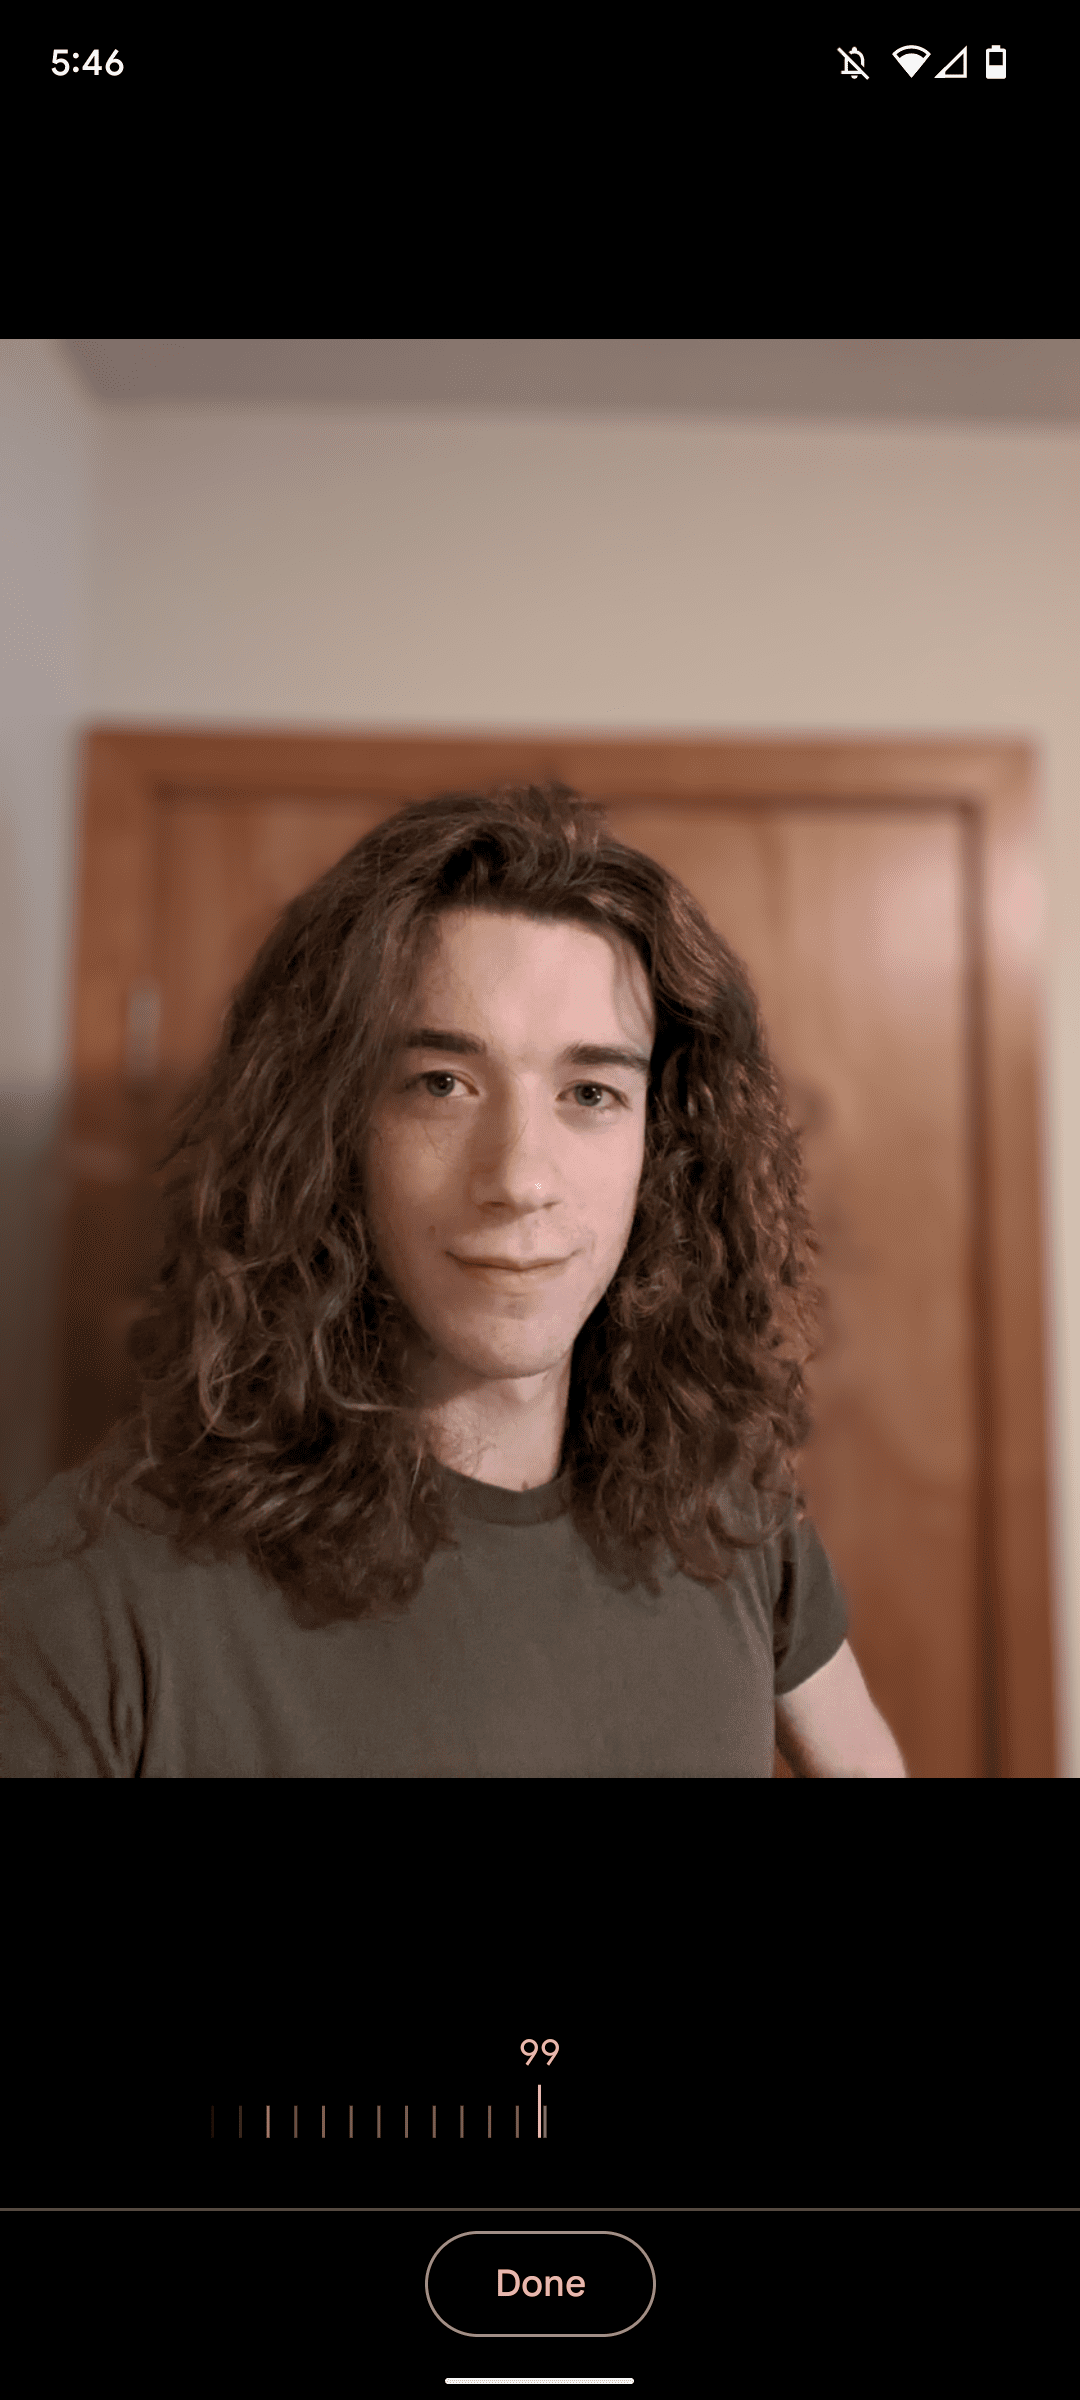
-
Tap
Done
. -
Tap
Save copy
.
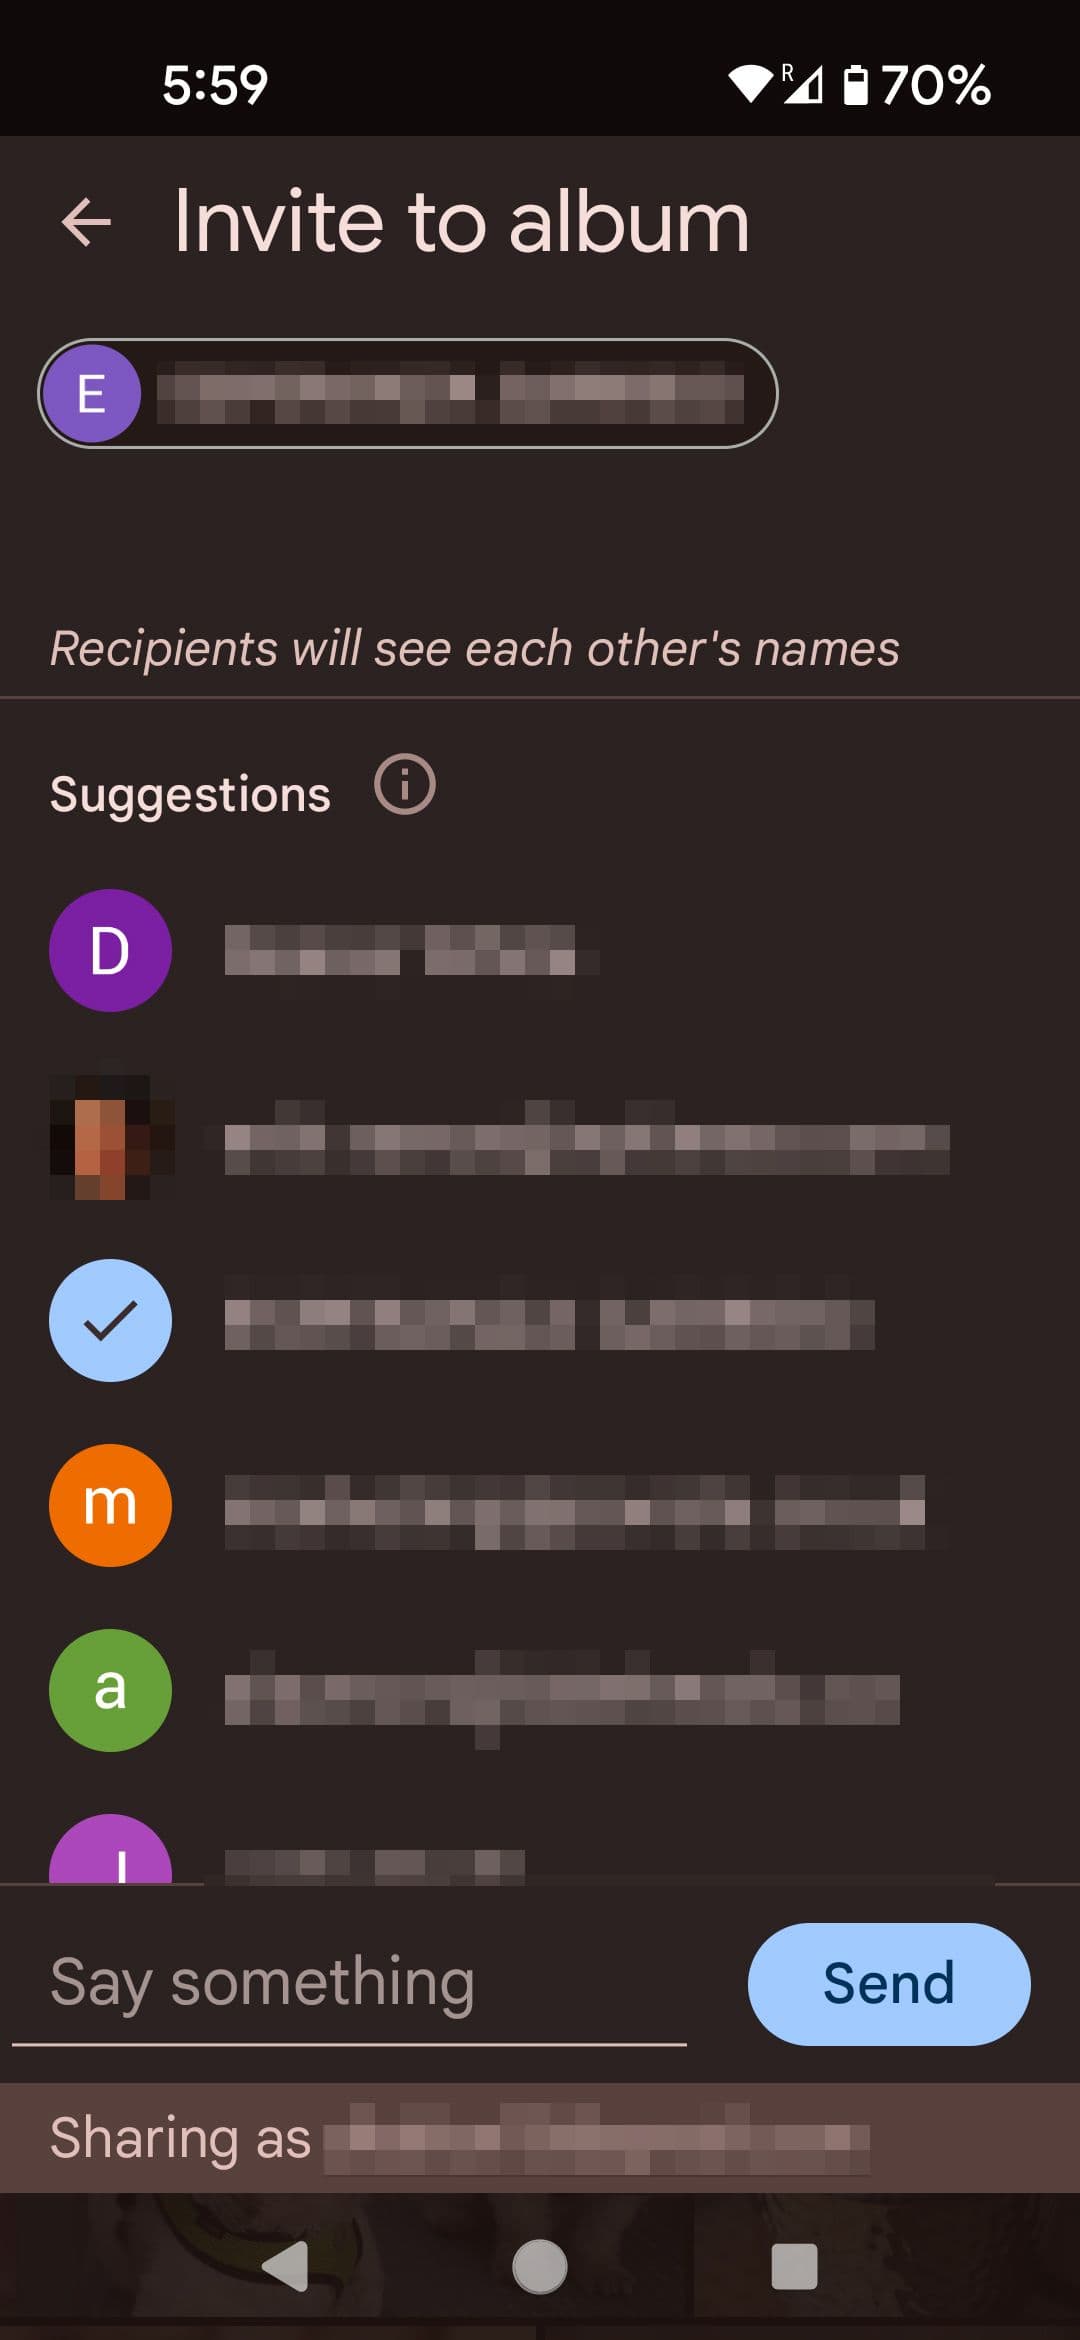
Share your favorite photos with friends and loved ones
Sharing albums is ideal for collecting holiday snaps or giving your friends a convenient place to look at your cat pictures. Photos shared this way can be edited and downloaded by the recipients.
- Tap the album you wish to share.
-
Tap
Share
. -
Tap the contacts you wish to share with. To see all your contacts, scroll right and tap
More
.
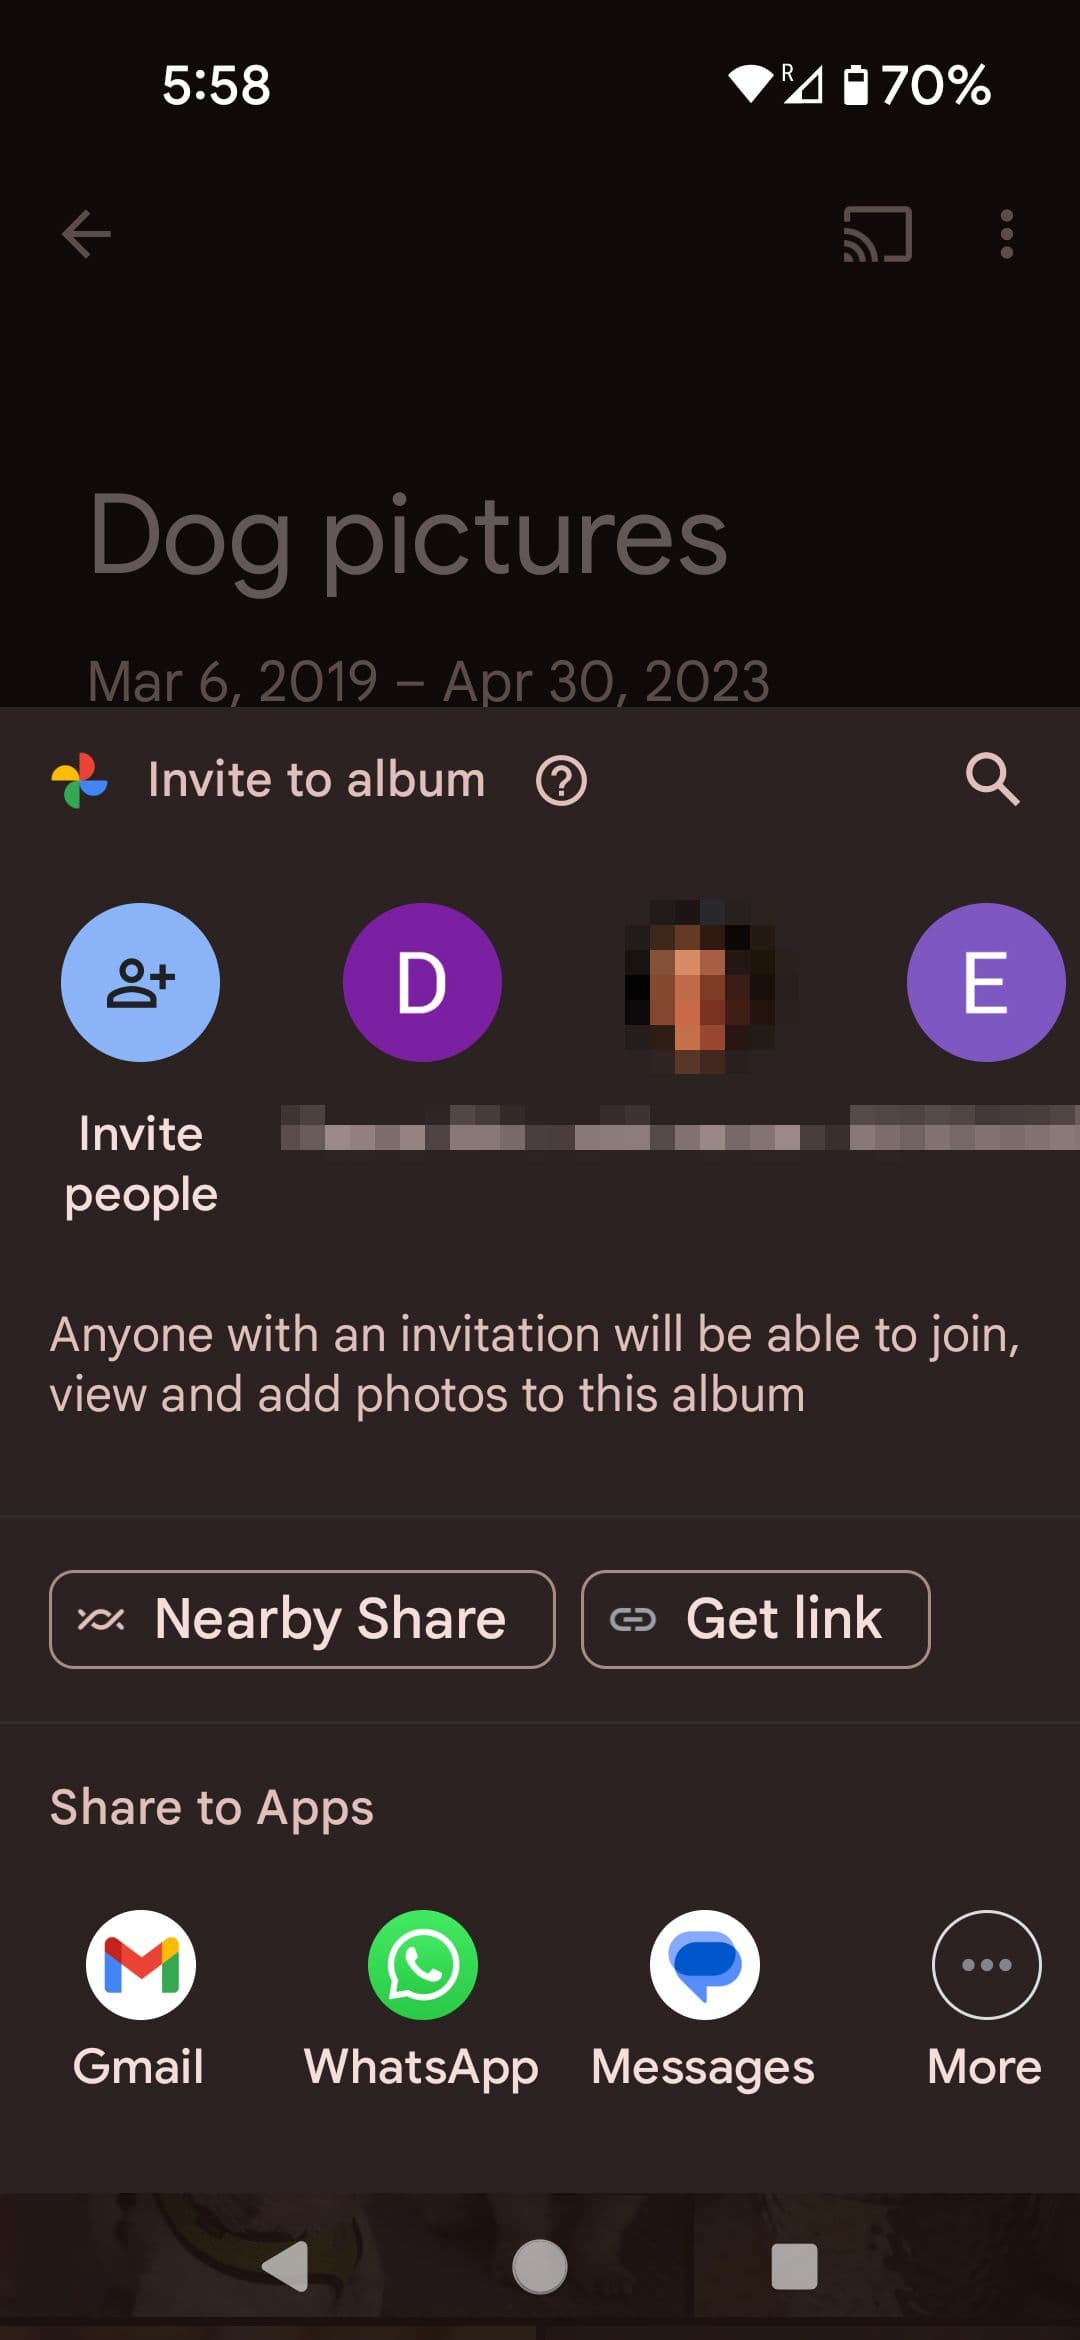
-
Personalize your invite with a note (optional) and tap
Send
.
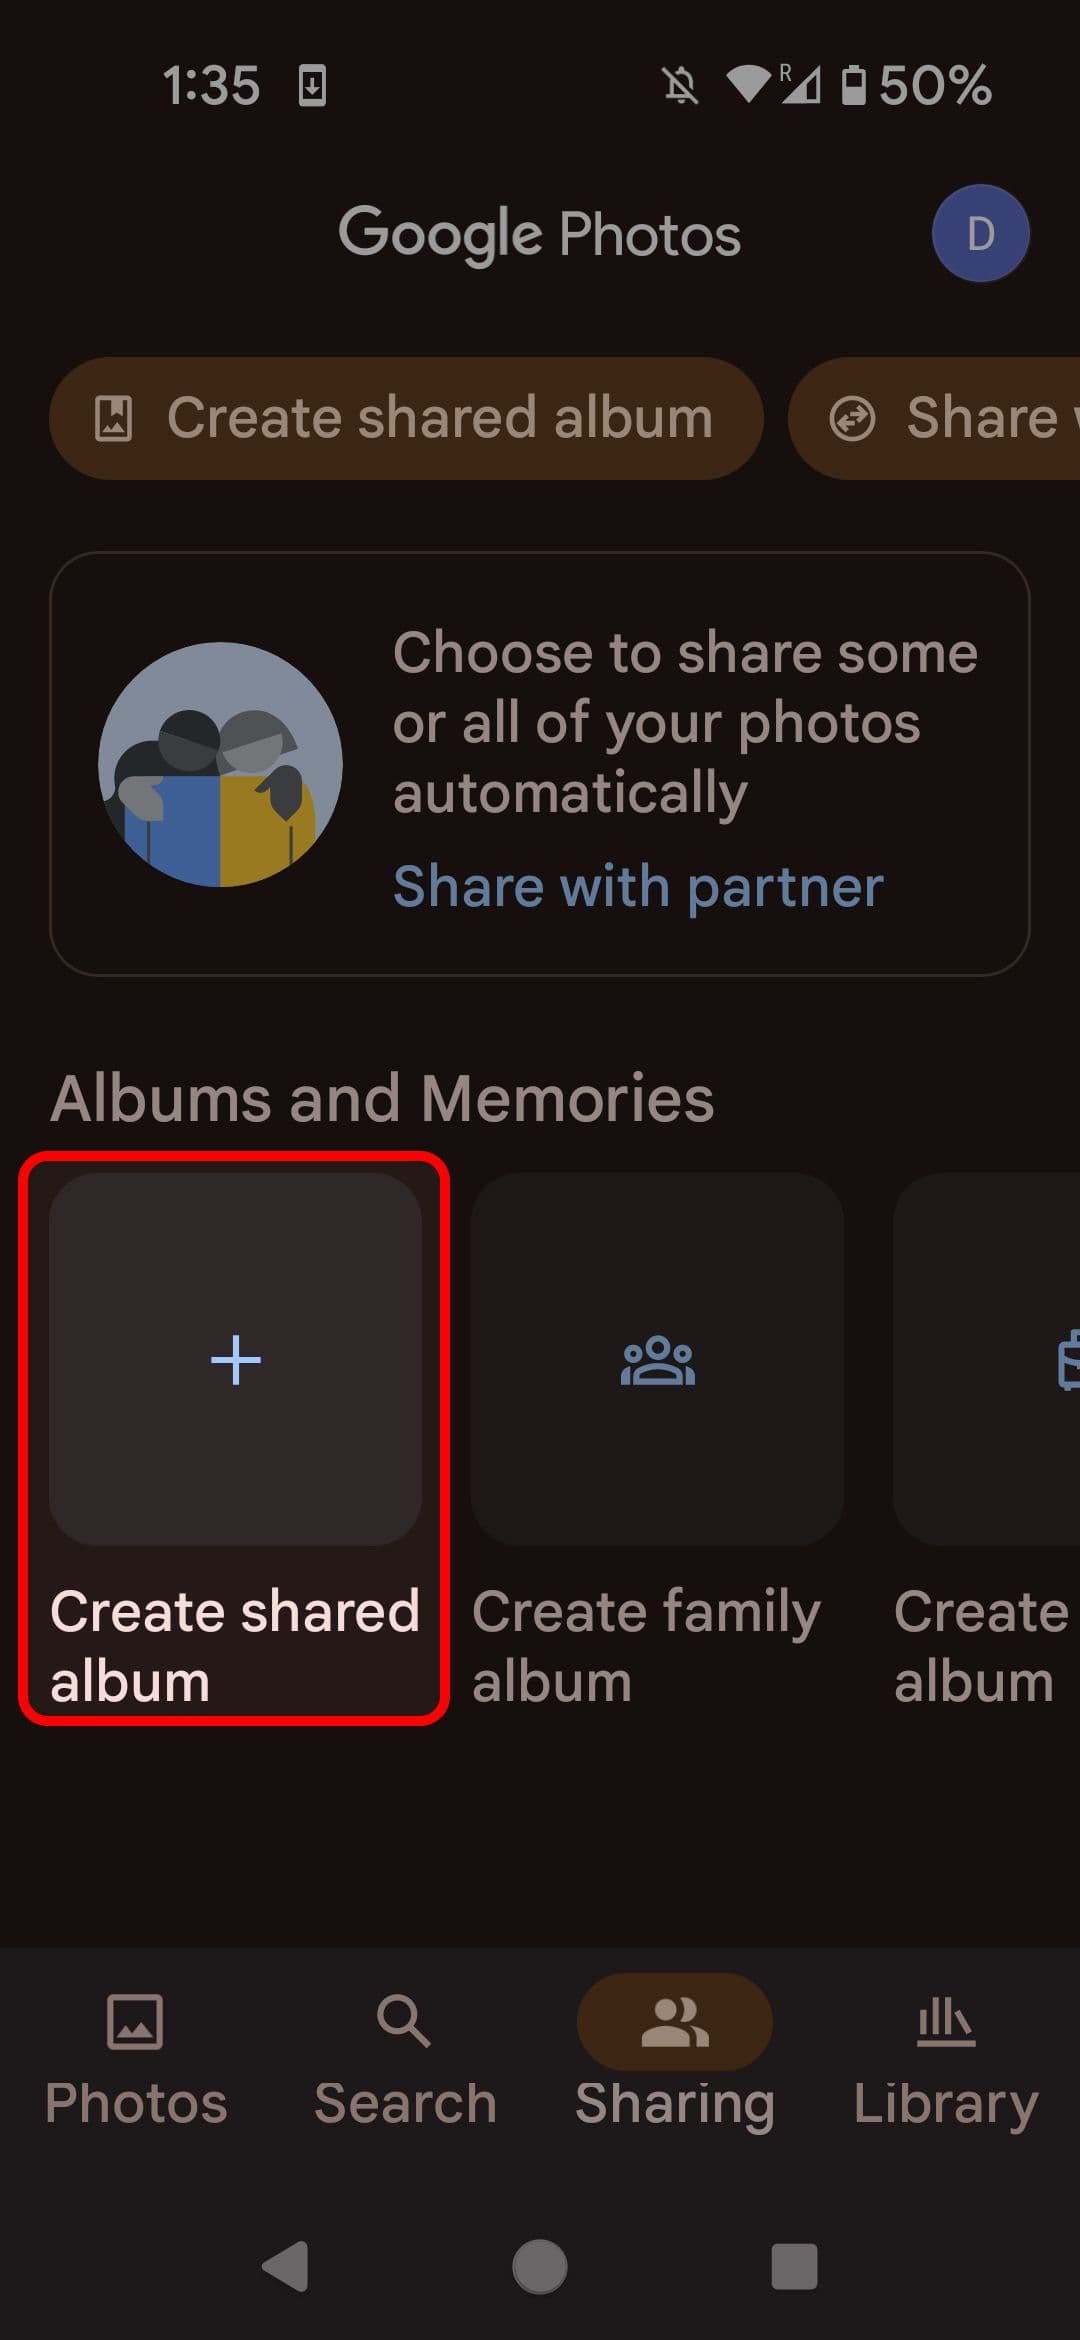
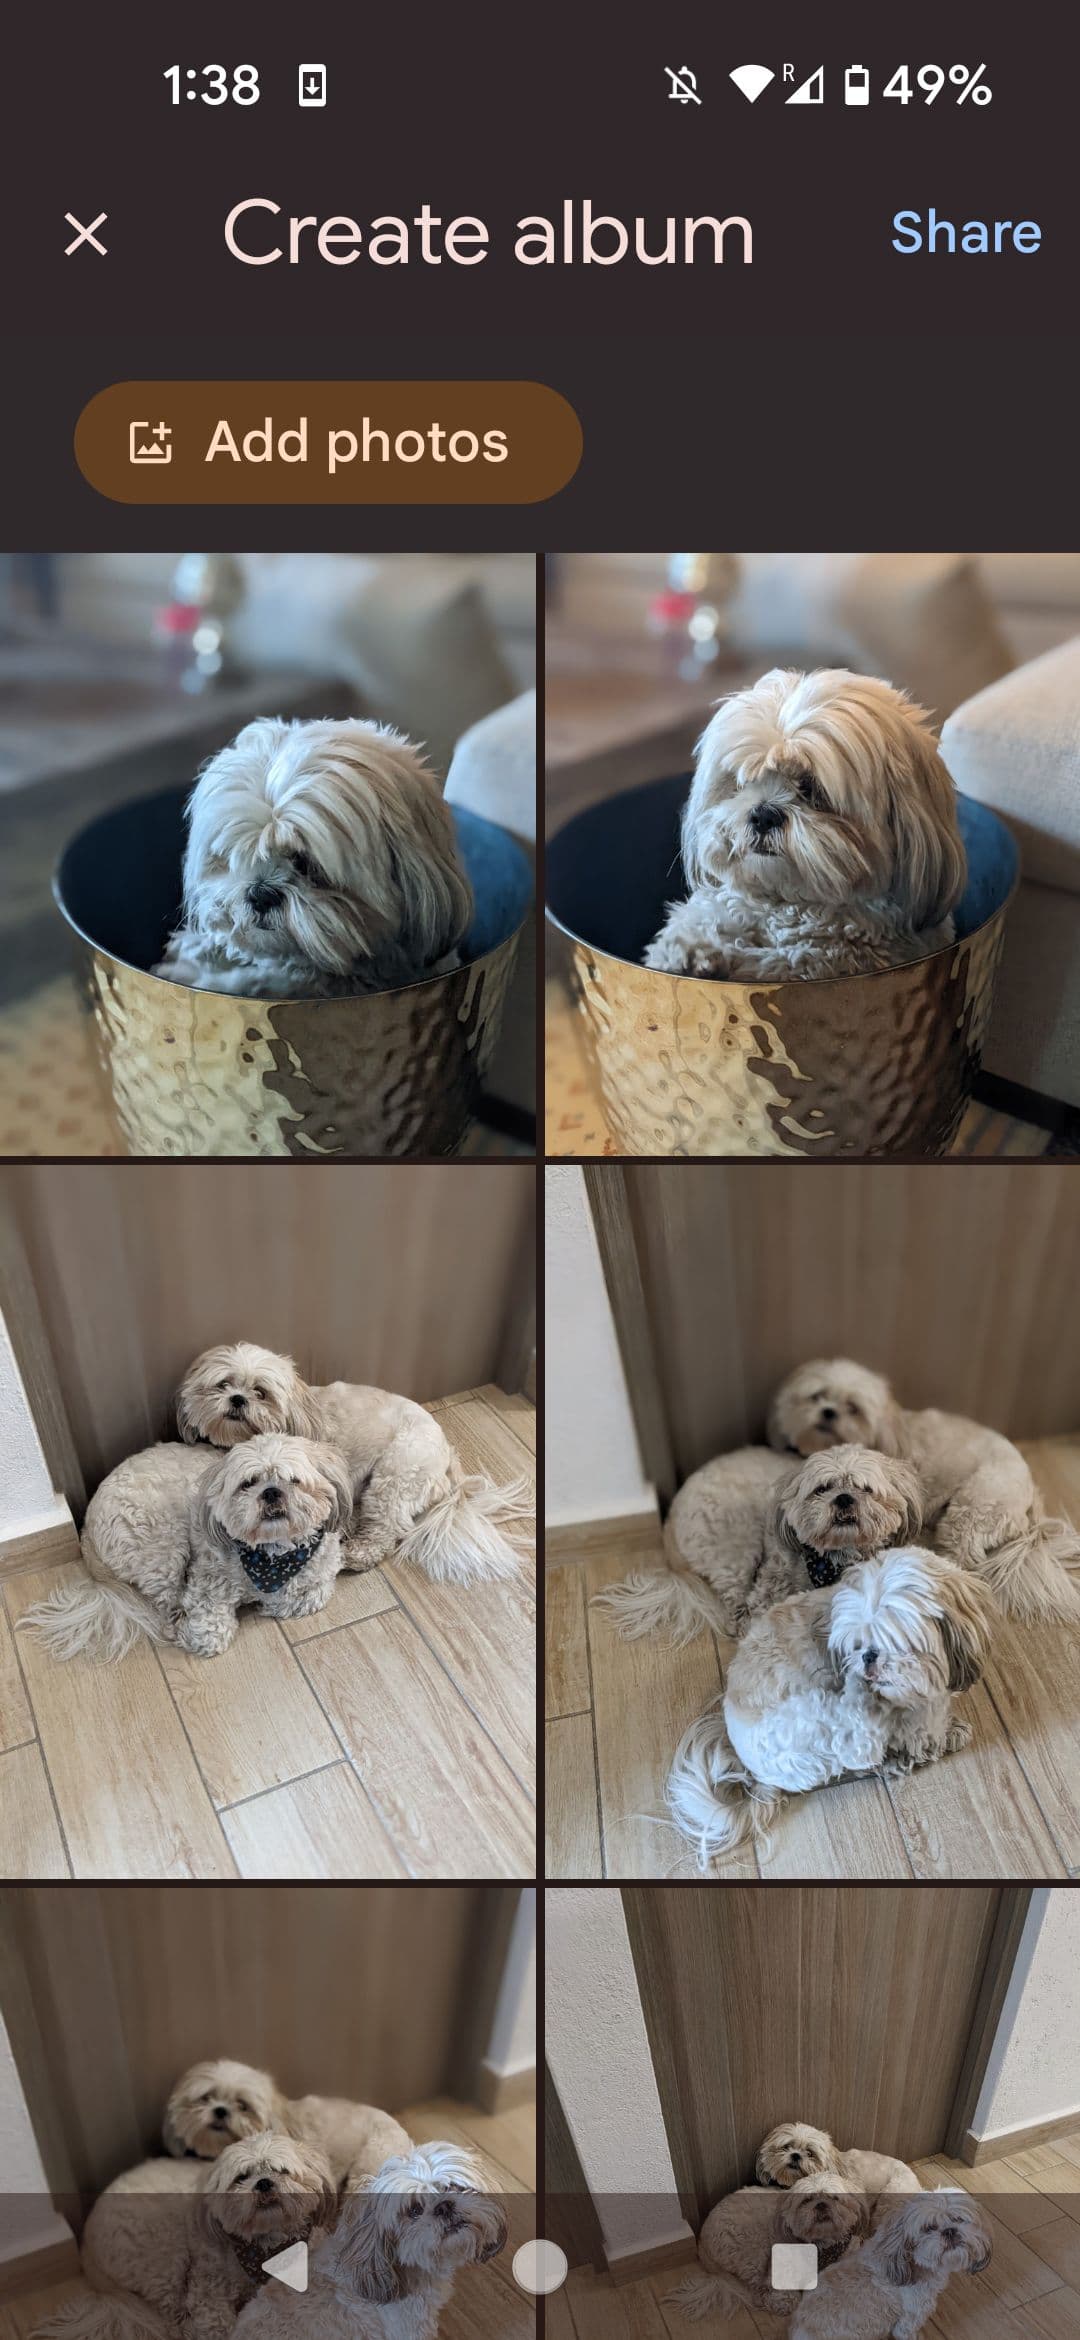
How to make a folder to share
If you don’t have a folder in which to put the images you want to share, you’ll have to make one.
-
Select
Sharing
from the bottom of the screen. -
Tap
Create shared album
.
- Give your album a title.
-
If you like, you can take advantage of Google’s facial recognition algorithms to auto-update and auto-populate the album.

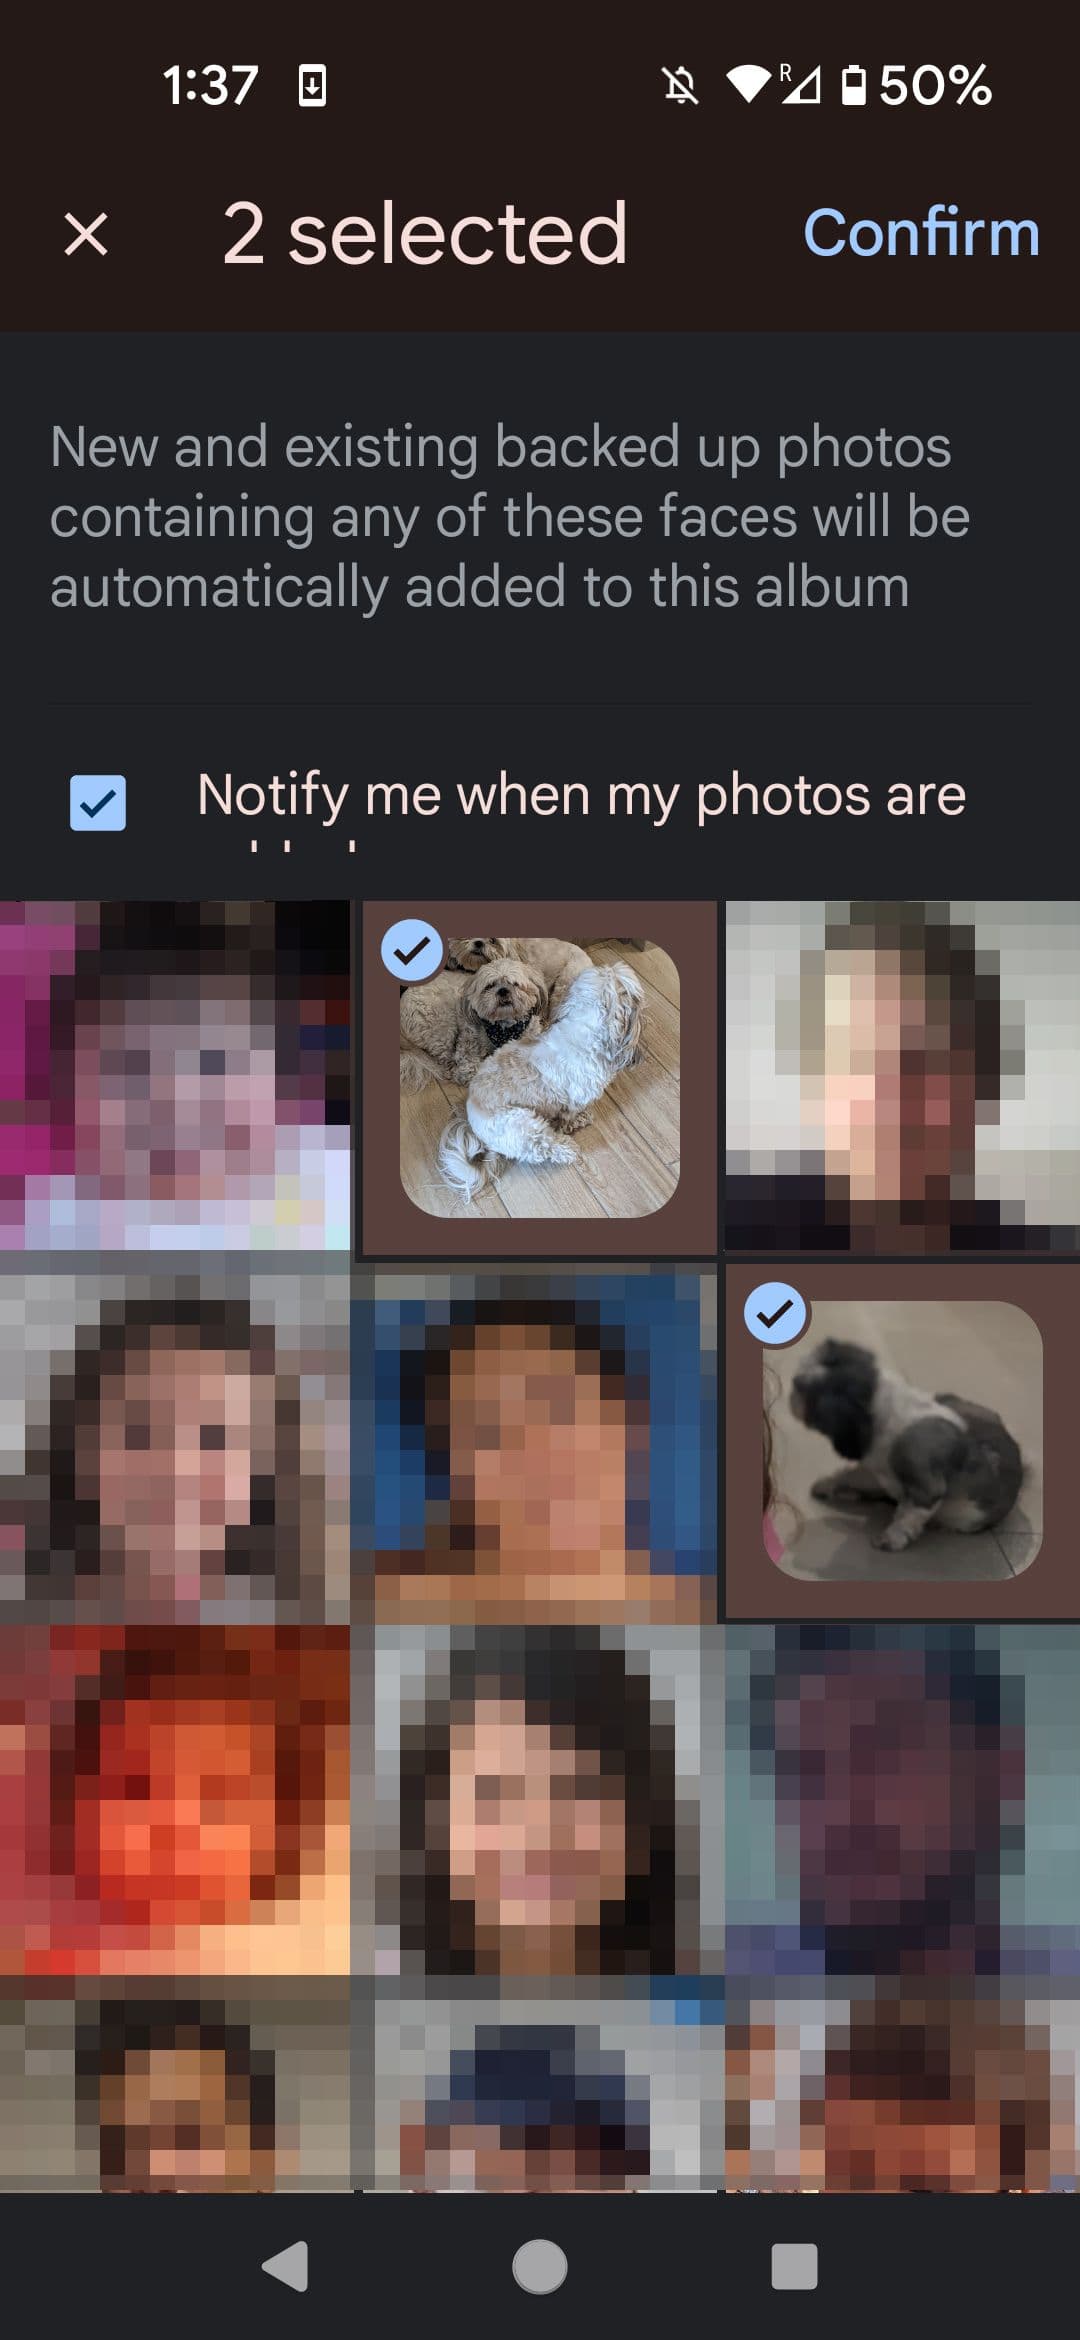
-
If you’d rather select the images for your album manually, tap
Select photos
.
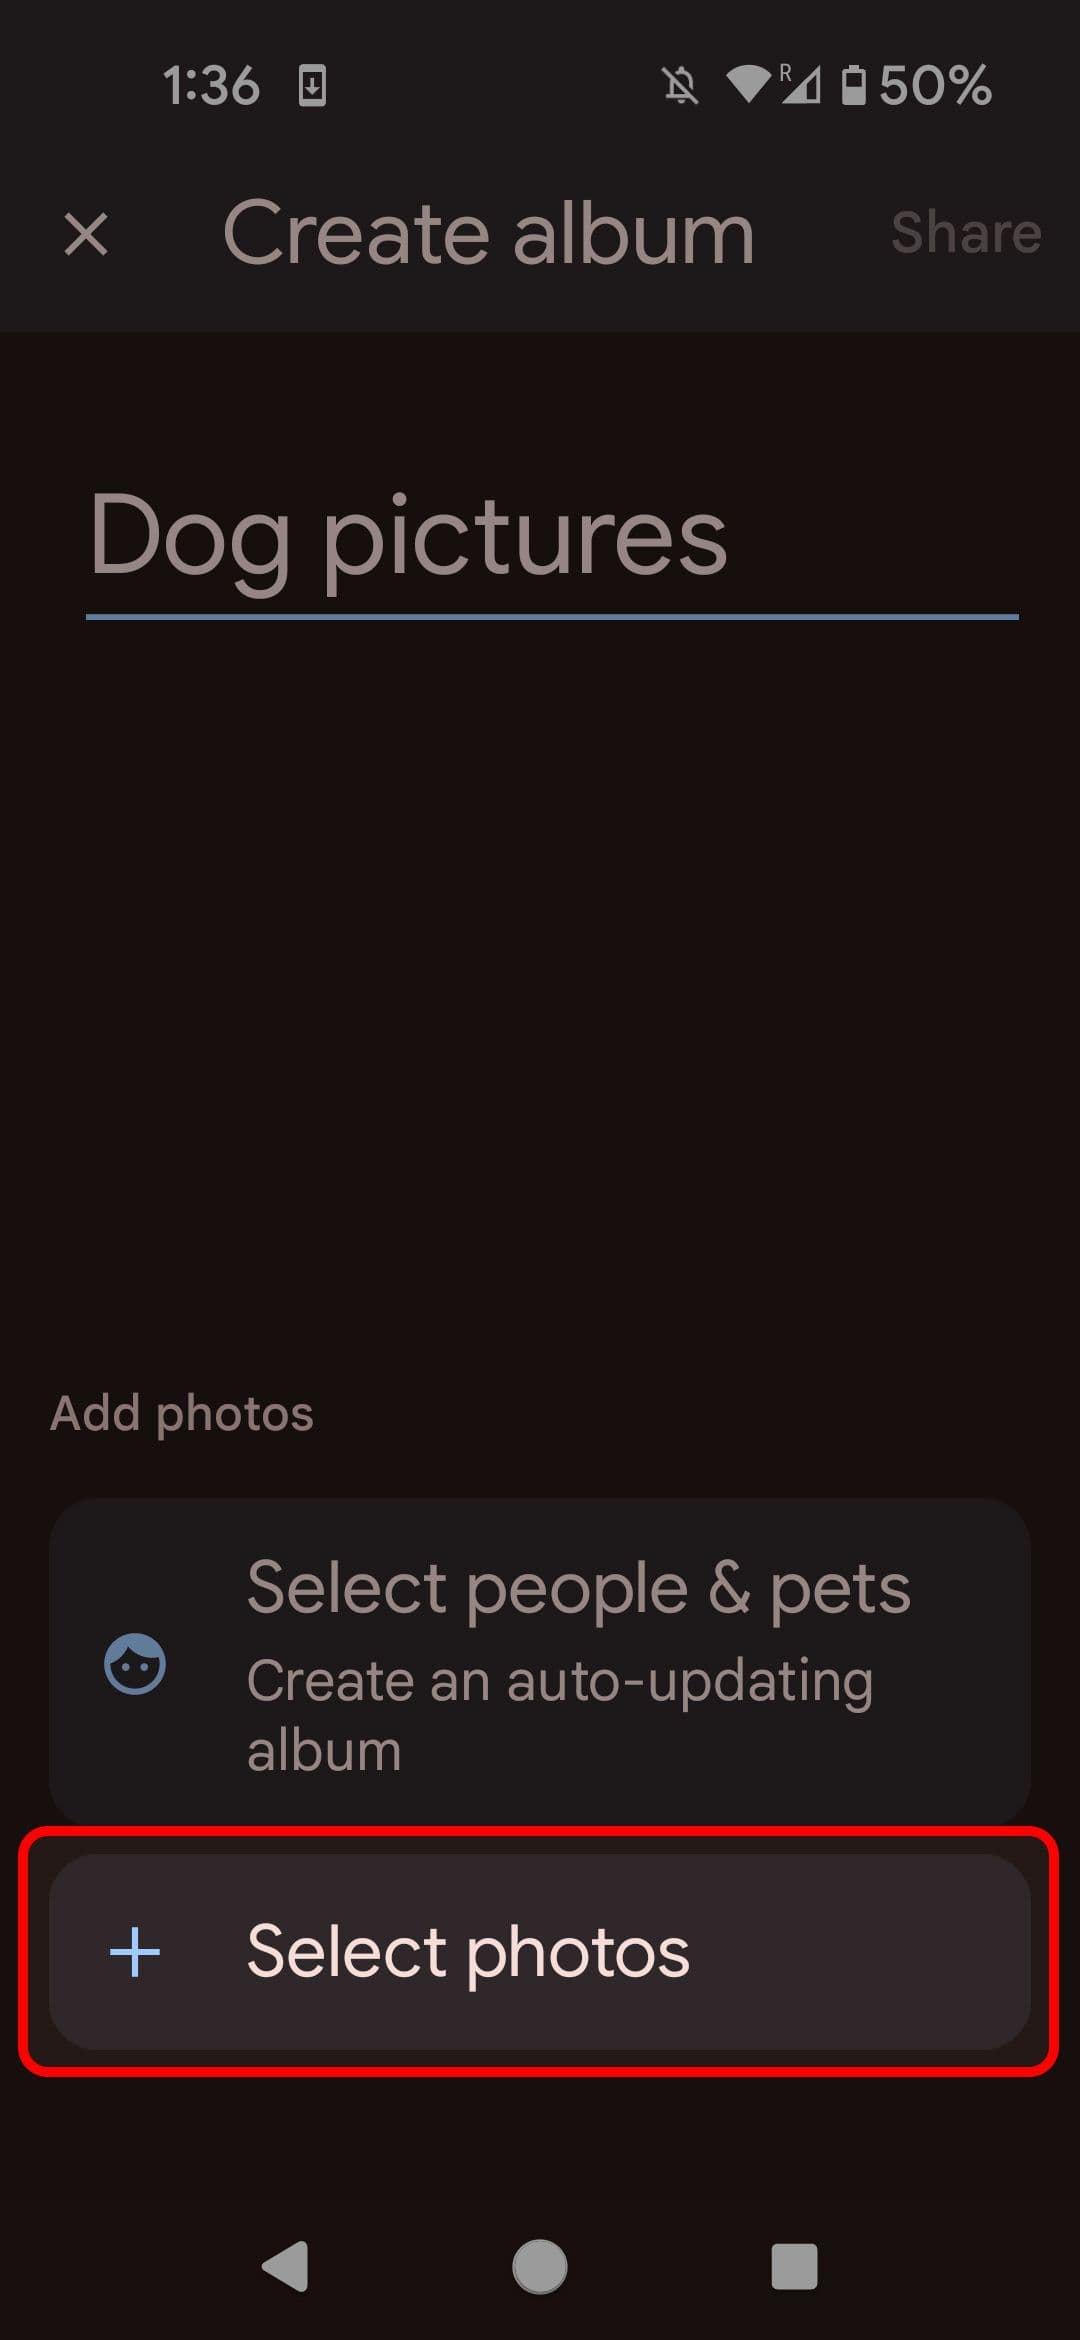
-
When you’re done, tap
Share
in the upper-right corner. -
Confirm your choice by tapping
OK
. - Select who you’d like to share the album with, create a link invite, or share the invite on a social media app.
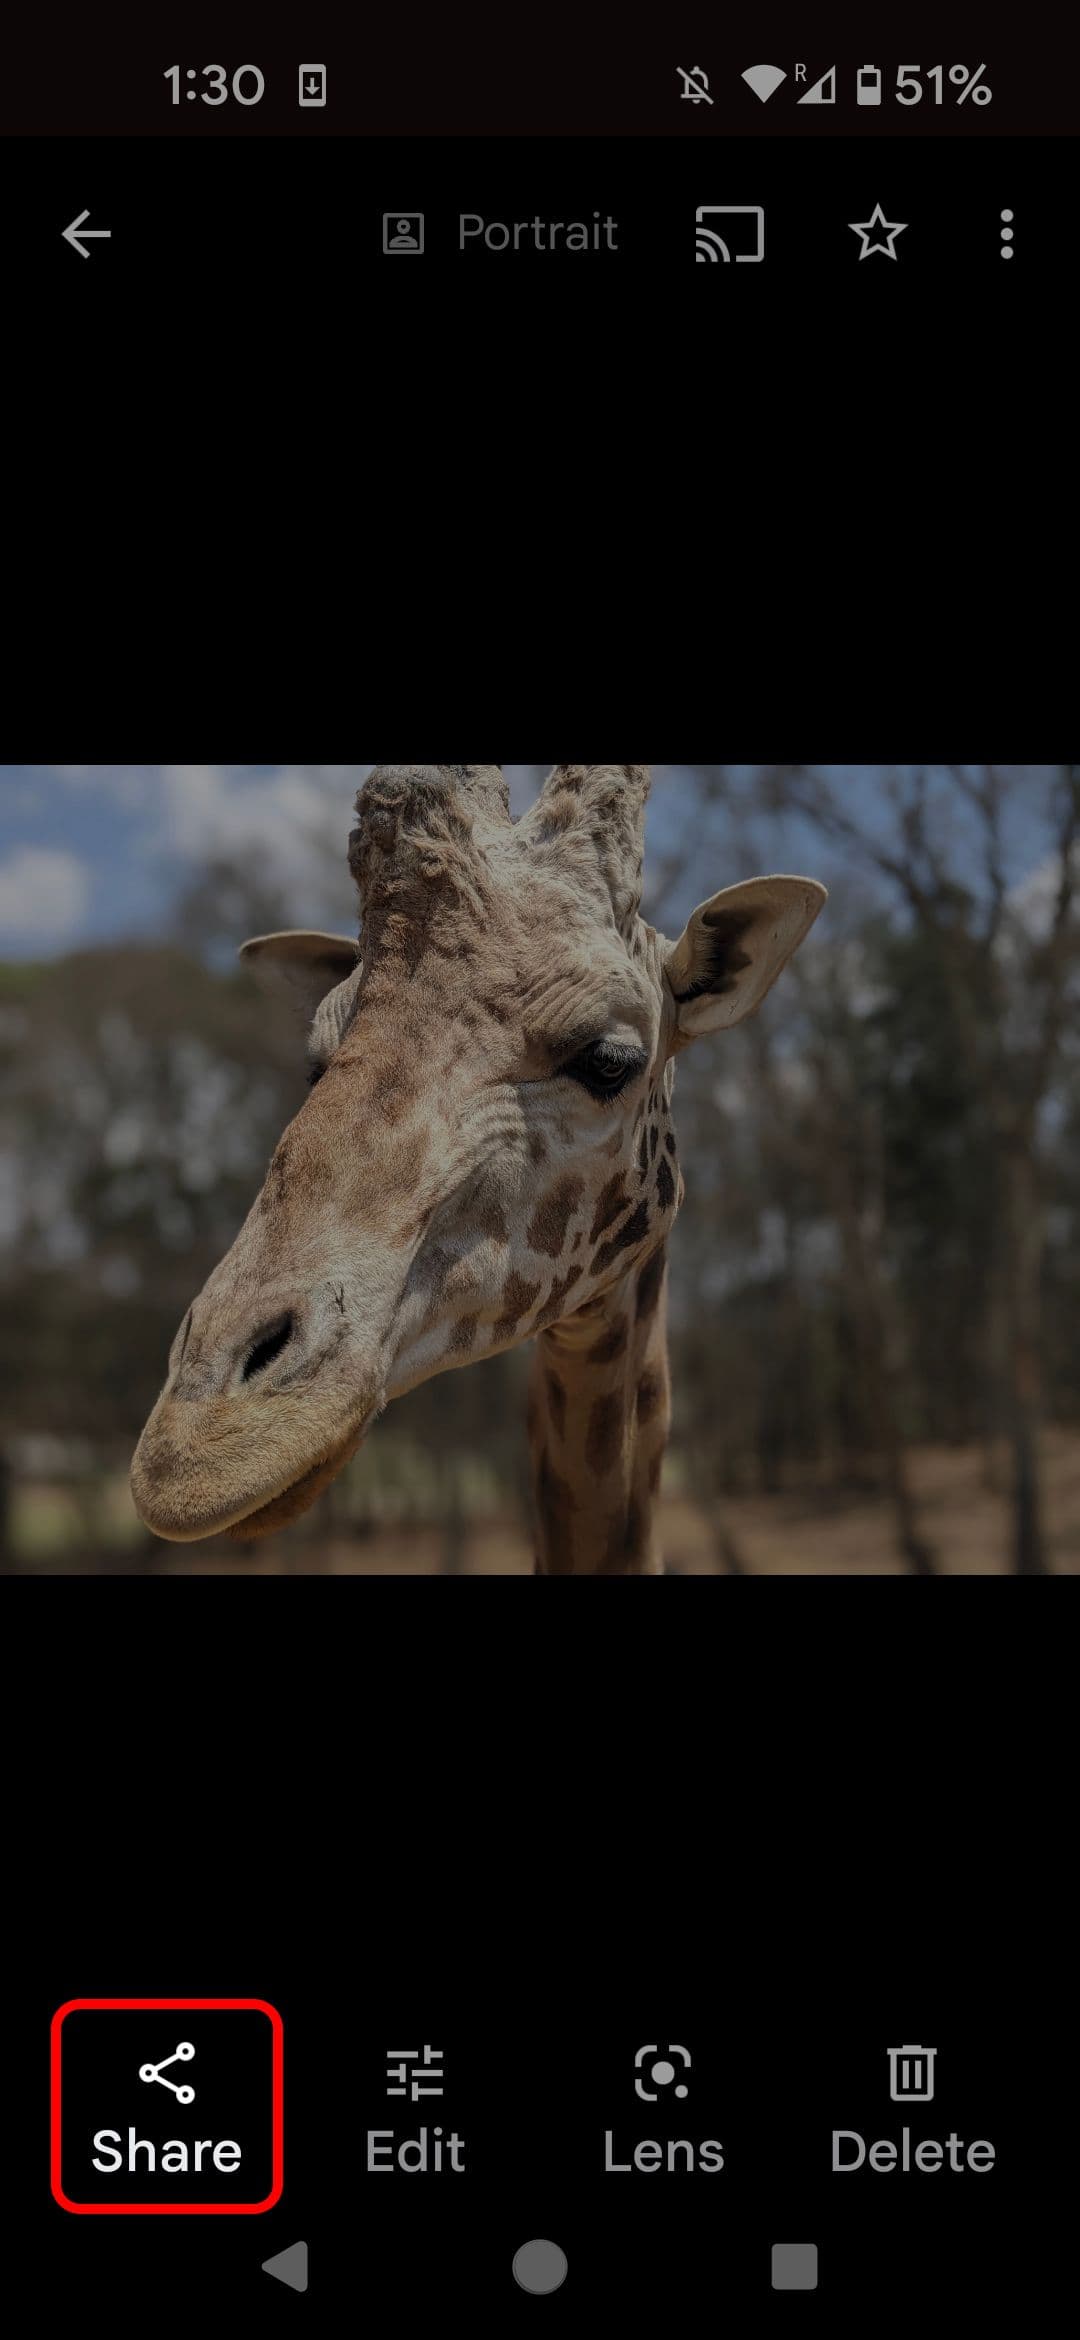
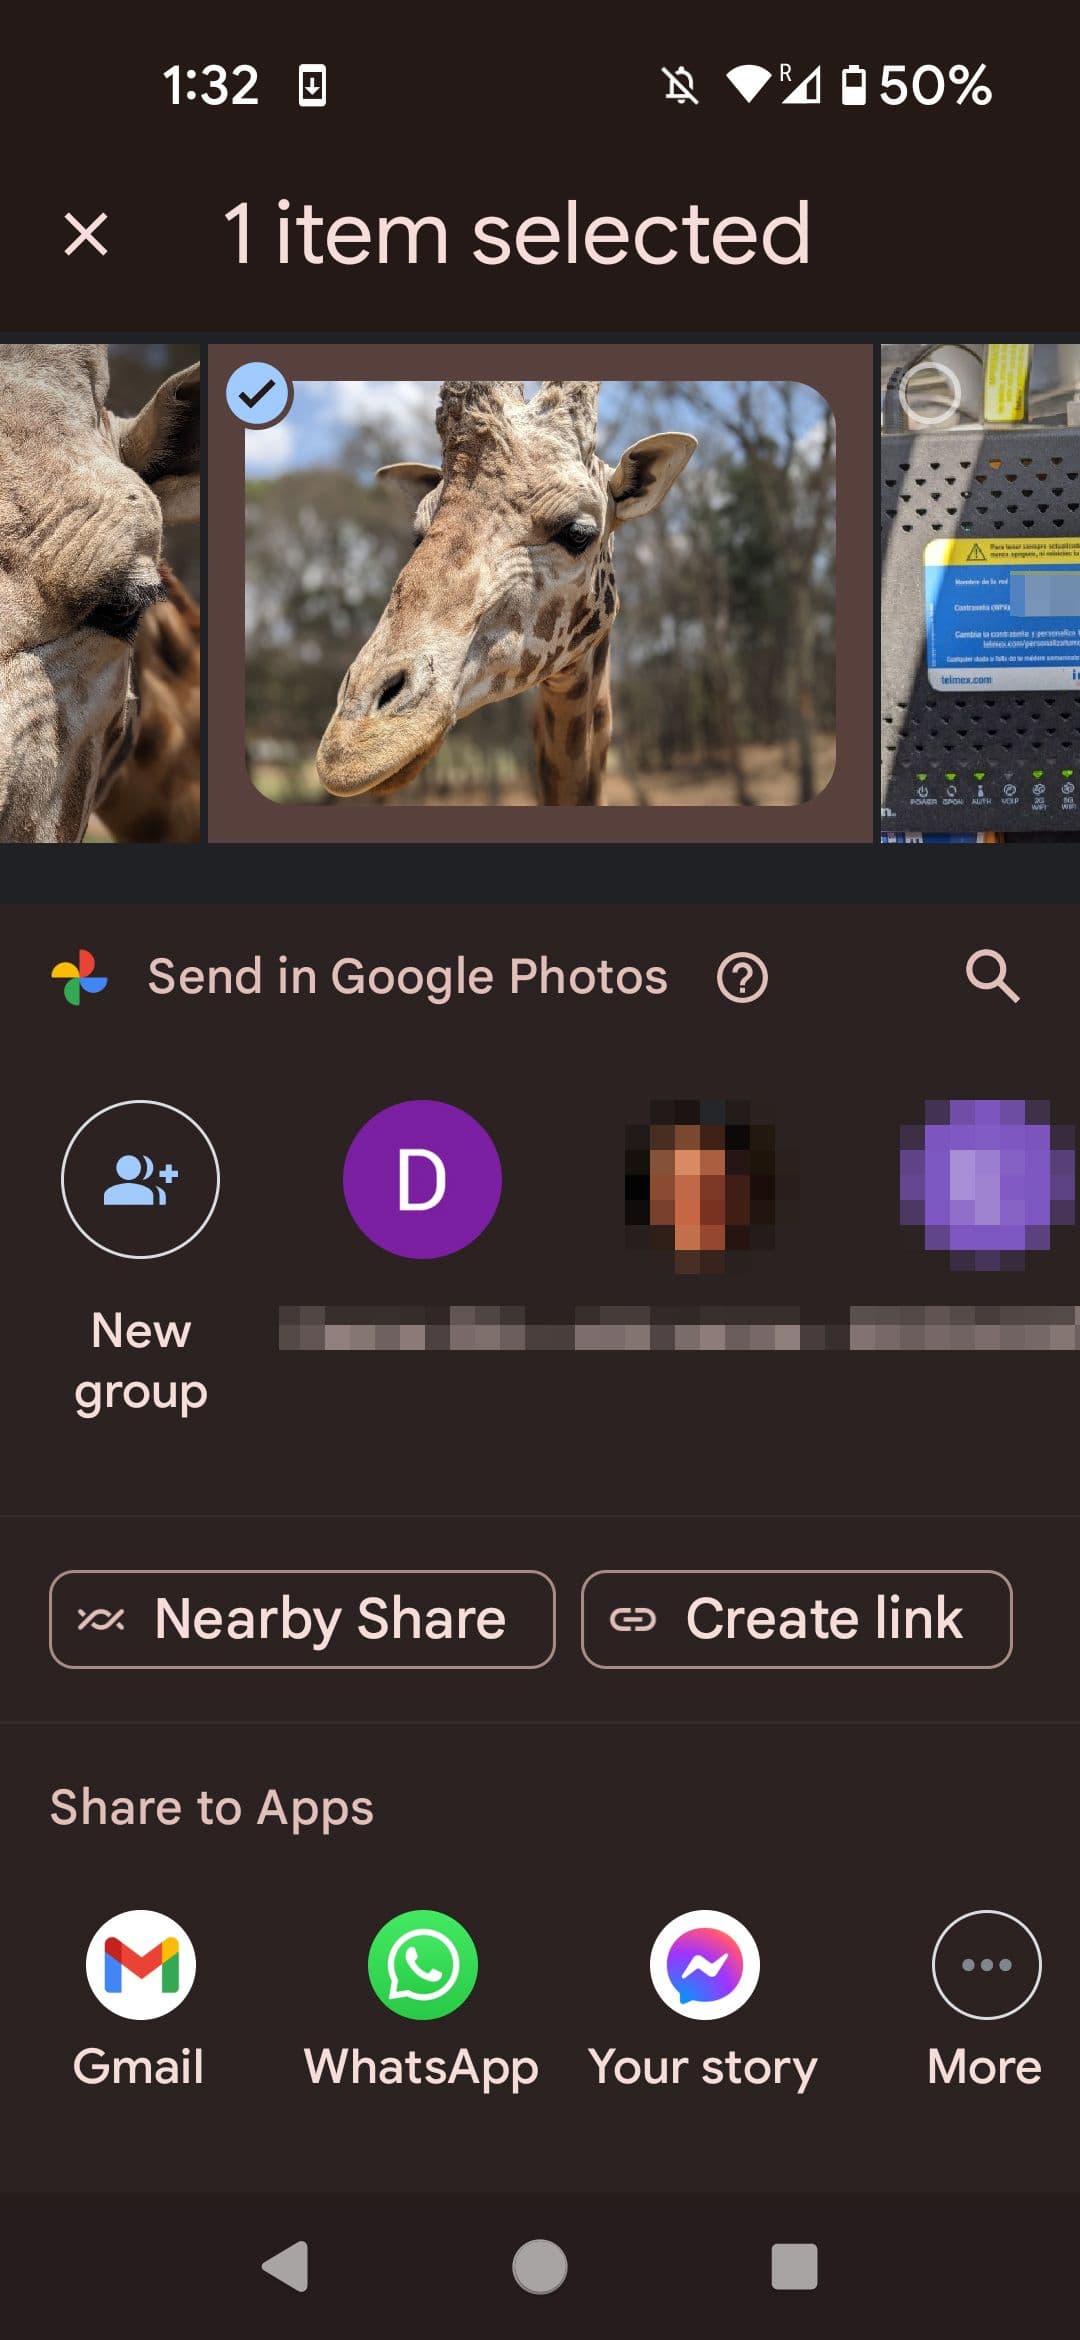
How to share individual photos
Shared folders are the perfect solution for vacations and holidays, but sometimes you only want to share a gym selfie or a pic of your lunch from a trendy restaurant.
- Select the image you want to share.
-
Tap
Share
in the lower-left corner. -
From here, you can share it with a social media app, create a direct link to the image, or share it via NFC with a nearby device.
Can you create a locked folder for private photos?
Google Photos’ locked folder is for photos and videos that absolutely cannot be seen by others. You can only open the locked folder via the method you use to unlock your phone, and you cannot screenshot photos in this folder. Before you move files over, there are a few essential things to know:
- Photos aren’t backed up. These photos are gone for good if you change or lose your phone.
- Photos are lost if the Google Photos app is uninstalled.
- Anyone who knows how to unlock your phone can access these photos.
- Other apps cannot access photos in the locked folder.
How to create a locked folder for your personal photos
-
Open
Google Photos
. -
Tap
Library
in the lower-right corner of your screen. -
Tap
Utilities
at the top of your screen. -
Scroll down and tap
Locked Folder
.

- Follow the on-screen prompts to set up your folder.
Use Google Photos to store, manage, and delete photos
Google Photos provides an excellent way to store and manage your photos. Still, if you want to trash your embarrassing photos, you can permanently delete those pics from Google Photos in seconds.
